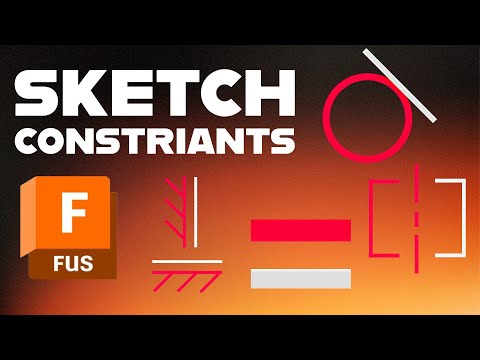
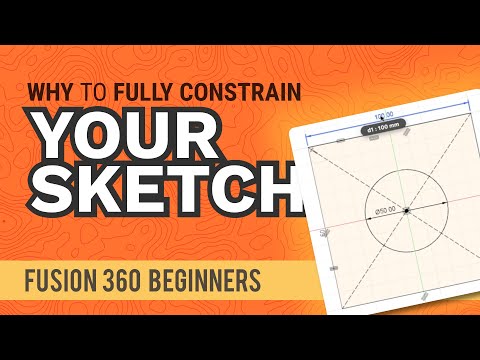
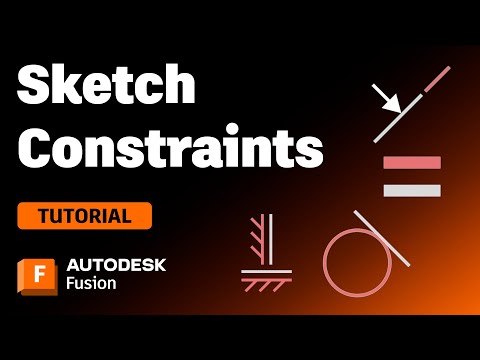
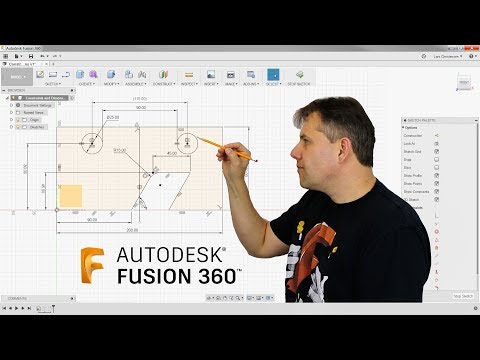
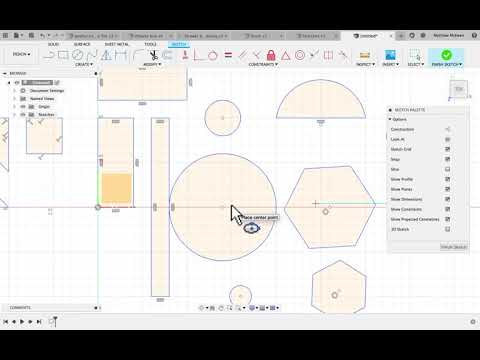
Fusion 360: How to Fully Constrain Sketches with Constraints, Dimensions, and Angles Mastering Fusion 360 Sketch Constraints: Fully Constrained Sketch Workflow (Step-by-Step) Fusion 360 Tutorial: From Blue to Black — Fully Constrain Sketches for Reliable Models Description: Learn how to fully constrain sketches in Fusion 360 so your geometry is stable, predictable, and ready for reliable modeling. In this hands-on walkthrough, we use core sketch constraints (horizontal/vertical, perpendicular, parallel, coincident, midpoint, equal) and smart dimensions (including driven dimensions and expressions with fx) to take lines, rectangles, centerlines, and a circle from under-defined blue to fully constrained black. You’ll also see how to apply angle dimensions, lock to the origin, and verify the padlock indicator before extruding. What you’ll learn: - How to read blue vs. black sketch geometry and the padlock icon - When to use horizontal/vertical, perpendicular, parallel, coincident, midpoint, and equal constraints - Dimensioning best practices with the D key, including driven dimensions and using expressions (e.g., divide by 2) - Locking sketches to the origin for stability - Using angle dimensions to control orientation - Verifying a fully constrained sketch before extrusions Chapters: 00:00 Intro: Why fully constrained sketches matter 00:16 Start sketch and draw lines (not yet a rectangle) 00:36 Blue vs. black geometry and padlock indicator 00:59 Building a rectangle with constraints 01:17 Dimensioning basics with the D key 01:37 Driven dimensions and parametric updates 01:55 Lock to origin (coincident) to fully constrain 02:14 Use midpoint and coincident to center cross lines 02:33 Perpendicular constraints to finish constraining 03:06 Add and constrain a circle (H/V + diameter) 03:32 Using expressions (fx) in dimensions 03:52 Fully constraining the circle 04:09 Angle dimensions for custom geometry 04:27 Control distance without unintended movement 04:45 Set 50° angle and apply perpendicular 05:07 Parallel constraints across segments 05:31 Add distances (75, 60) and equal constraint 05:58 Fully constrained again — padlock check 06:10 Extrude the fully constrained sketch Key takeaways: - Constrain first, model second: use constraints to define intent, then add dimensions to lock size and position. - Lock to the origin to eliminate “floating” sketches. - Use expressions (fx) for parametric relationships (e.g., half the width). - Always verify the padlock icon before moving on to 3D features. Hashtags: #Fusion360 #CAD #ParametricDesign
- 19805Просмотров
- 4 года назадОпубликованоWhat Make Art
Fusion 360: How to Fully Constrain Sketches with Constraints, Dimensions, and Angles
Похожее видео


Популярное
Новини