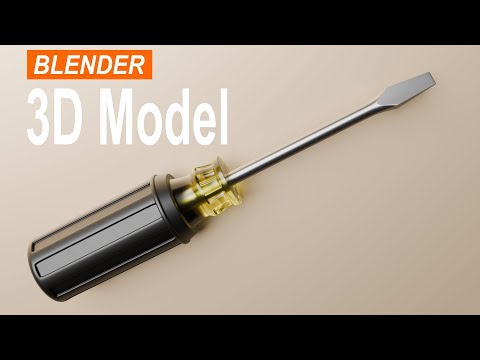
Blender Modeling Tutorial - In this video, , I show how to model a screwdriver in Blender. Watch the full video till the end to know more about it. Subtitles :- -------------- Hey guys, welcome back to NEXTGENBLOGGER. And in this video, I want to show you how to model a screwdriver in Blender. Now it's actually super easy to model a screwdriver in Blender. So without further delay, let's get started and see how you can do this. Now to start off, first, I would like to delete everything that is present on the scene. And now I would like to add a cube. So go to the add menu, go to mesh, and now select this option that is cube. Next, you need to go to the edit mode. And now you need to scale this cube along the y-axis by 3 meters. Next, select the face selection mode. And now select this face of the cube. Now scale this face along the z-axis by 0.1 meter. Now select this face of the cube. And scale this face along the x-axis by 1.5 meter. Also, scale this face along the z-axis by 0.8 meter. Next, what you need to do is, you need to add a cylinder. So to do that, press shift A and now select cylinder. Now rotate this cylinder along the x-axis by 90 degree. Next, move this cylinder along the y-axis by 7 meters. Next, what you need to do is, you need to add couple of loop cuts on top of the cube. So to do that, press control R and bring your cursor on top of the cube. So as you can see right now, this is a vertical selection. So we need 12 such vertical selections. So enter the value 12. And now press enter twice. Now press control R once again and bring your cursor on top of the cube. So right now, this is a horizontal selection. So we need 2 such horizontal selections. So enter the value 2. And press enter twice once again. Next, select the vertex selection mode and select all the vertices which are present right here. Now you need to delete all the faces which are present right here. So press the letter x and select faces. Now press the alt key and select an edge between 2 vertices. And this is going to select the entire ring of vertices. Now we are going to do the same thing with the cylinder. So press shift alt and select an edge between 2 vertices. And this is going to select the entire ring of vertices. Next, you need to go to the edge menu. And now you need to select this option that is bridge edge loops. Now press the number 7 and this will give you the top view. Next, enable the wireframe mode. And now select the 2 vertices which are present right in the middle like this. Now enable proportional editing and increase the proportional size to somewhere around meters. Now move these 2 vertices along the y-axis by 2.5 meters. Now disable proportional editing. Next, select the face selection mode and enable the solid mode. Now you need to press the alt key and select a face from the cylinder. And this is going to select all the faces of the cylinder. Now rotate this cylinder along the y-axis by 5 degree. Next, you need to box select all the faces which are present right here. And now press the number 3 and this will give you the side view. Now enable the wireframe mode. Now you need to scale this selection along the z-axis by 0 meters. Now rotate this selection along the x-axis by 5 degree. Now move this selection along the z-axis by meters. Now enable the solid mode and press the number 7 and this will give you the top view. Now press control 7 and this will give you the bottom view. Now select all the faces which are present right at the bottom like this. Now press the number 3 and this will give you the side view. Now enable the wireframe mode. Next, you need to scale this selection along the z-axis by 0 meters. Now rotate this selection along the x-axis by -5 degree. Now move this selection along the z-axis by meters. Next, enable the solid mode. And now you need to select all the faces which are present right at the front like this. Now scale all these faces along the z-axis by 0.5 meters. Alright. Next, you need to go to the object mode. And now you need to add the subdivision surface modifier. So go to the modifiers tab, click on add modifier and inside generate, select the subdivision surface modifier. Now increase the value inside levels viewport from 1 to 2 and inside render from 2 to 3. Next, you need to apply shade smooth. So go to the object menu and select this option that is shade smooth. Now go back to edit mode. Next, what you need to do is you need to select the edge selection mode. And now select this edge right here. Now press the letter G twice and move this edge upwards like this. Now select this edge right here. Press the letter G twice and move this edge downwards like this. And more.... Facebook :- Twitter :- Instagram :- #blender #nextgenblogger
- 922Просмотров
- 9 месяцев назадОпубликованоNEXTGENBLOGGER
How to model a Screwdriver in Blender | Blender 3D Modeling Tutorial Beginner
Похожее видео


Популярное
Новини