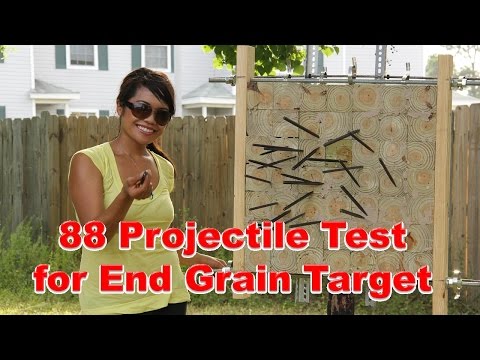
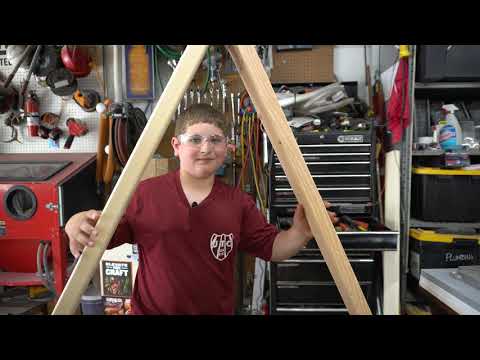
UPDATE: Currently, I have a 10" Kobalt compound miter saw ($200) and highly recommend its purchase if you know you'll be doing a lot of woodworking. In this video, I used a carpenter saw, since that's what I had at the time and was getting impatient to start this project. Plus, I thought it'd be perfect to show people that 4 x 4's can be cut by hand-- that would be helpful for those that don't have the money and/or space for a miter saw. Not to mention, a carpenter saw is safer. If you must comment on what I should've done or used, please read the list below. This is so I'm not replying to the same type of comment over and over again. Thank you! 1) To use a table saw, you have to remove the guards. To remove the guards you need to use the allen key from the manufacturer, which is easy to misplace. Not to mention, removing the guards leaves you open to injury. 2) Most circular saws are not meant to cut 4 x 4's, but if done (in which partial cuts are made several times) it should be done by someone who is experienced with circular saws. 4) The proper tool to cut 4 x 4's is a miter box saw. But one big enough to cut 4 x 4's can cost $150 - $200. 5) The Home Depot and Lowe's I went to (one in California and Florida) have a policy against cutting 4 x 4's. Plus, one place charged $1 for each cut. Ask your lumber place if they'll make the cuts for you-- they might have a different policy. I know that many people don't make end-grain targets because cutting 4 x 4's seems like an impossible task without the right equipment, not to mention skills. I wanted to make this target several years ago, and would've done it sooner if I knew I could use a plain old hand saw. So I've demonstrated that it's possible to do this project safely without having to buy a one-time expensive piece of equipment. And of course, anyone that's comfortable with using other types of electric saws are free to do so. ~~~~~~~~~~~~~~ I’ve always wanted to make an end grain target. This video from a Russian No-Spin YouTube channel looked like the perfect design: If you view all the videos on this channel, each target looks like there are no nails or back board—it’s all pressure fit using threaded rods, washers, and nuts. So I tried my hand at this design, but without instructions, I videotaped a big mistake: I didn't use wood glue between the blocks. So be sure to watch the entire video series before undertaking this project! Here is the list of videos in this series: Part 1: How to Make an End Grain Target for Knife Throwing Part 2: No-spin End Grain Target Test (without Wood Glue) Part 3: 88 Throwing Projectile End Grain Target Test (with Wood Glue) Here are the materials I used to make my target: Two 8 foot pieces of 4 x 4 Pressure-Treated Pine (Pressure-treated is all they had at the store but I heard it's better to go non-pressure treated. My target still works though.) One 6 foot piece (or longer if needed) of 2 x 4 Pine Two 5/8” in diameter Threaded Rods (3 feet long) Eight 5/8” Hex Nuts Four 5/8” Split Lock Washers Four 5/8” Flat Washers Wood Glue
- 60040Просмотров
- 1 десятилетие назадОпубликованоXolette
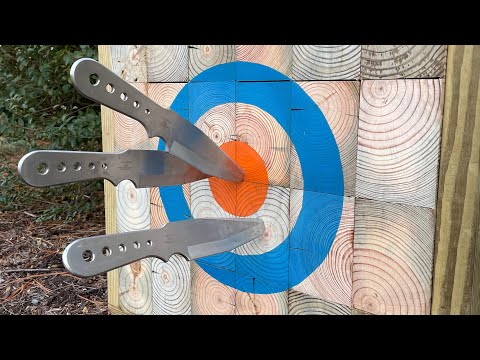
How to Make an End Grain Target for Knife Throwing (Part 1 of 3)
Похожее видео


Популярное
Новини