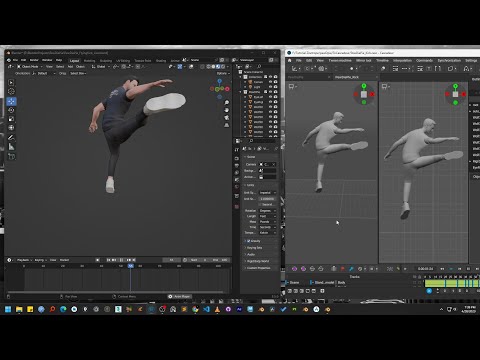
📚 Blender to Cascadeur to Blender Pipeline Tutorial: 00:00 - Intro 00:05 - Explaining Milestone of the Tutorial Series 00:45 - Generate Character from Ready Player Me Website 01:45 - Import Character in Blender 02:11 - Removing Default Armature 02:23 - Measure Character Height 03:16 - Auto Rig Pro: Placing Body Reference Points 03:51 - Auto Rig Pro: Placing Face Reference Points 04:43 - Auto Rig Pro: Assign Eye Ball 04:50 - Auto Rig Pro: Generating Bones 05:14 - Auto Rig Pro: Match To Rig to generate control points from bones 05:40 - Auto Rig Pro: Bind to the Mesh 07:19 - Auto Rig Pro: Knowing the Collection where bones are kept 07:30 - Auto Rig Pro: Export Character 07:52 - Cascadeur: Import the character 08:10 - Cascadeur: Quick Rigging 10:09 - Cascadeur: Rigging Completed Now we can Animate 10:21 - Ending of this tutorial Ready to master the complete character animation pipeline? In this comprehensive tutorial series, you'll learn everything you need to know to take a character from creation to a fully finished animation, moving seamlessly between Blender, Cascadeur, and Ready Player Me. This step-by-step guide is perfect for intermediate artists who want to build a professional workflow. We cover the entire process, including creating a custom 3D character, rigging it with the powerful Auto-Rig Pro add-on in Blender, creating dynamic animations in Cascadeur, and finally, bringing it all back into Blender to retarget the animation perfectly onto your rig. Website - Patreon - Facebook - Behance - Instagram -
- 2661Просмотров
- 4 месяца назадОпубликованоZoetrope Studios
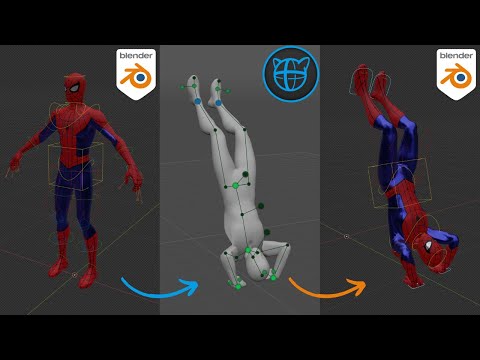
Full Character Animation Pipeline Ready Player Me to Blender to Cascadeur to Blender
Похожее видео


Популярное
Новини