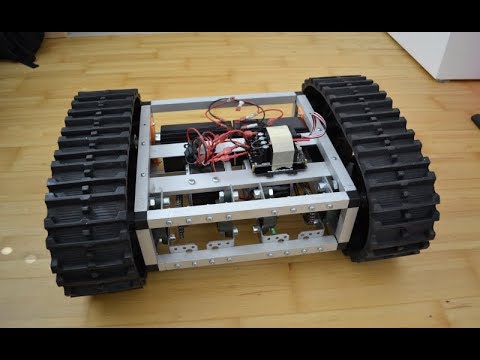
In this video, I take the next step in my DIY robotics journey — getting my tank chassis moving! After reviewing the cheap-but-decent tracked base in my last video, I’ve now hooked up an ESP32, an L298N motor driver, and paired a Bluetooth Xbox controller. I wrote some Arduino code that lets me control each track with the two analog sticks — just like a real tank! I walk through: 🧰 How to wire the ESP32 to the L298N and motors 🎮 Pairing an Xbox Series controller via Bluetooth 💻 Writing Arduino code to drive using the joysticks ⚠️ I'm not an expert — this is just me figuring things out and sharing what I learn along the way. Chapters 00:00 - Intro 01:34 - Wiring 06:18 - Code 10:33 - Wrap up Parts List: * Tank Chassis: * esp32 dev kit: * L298N Motor Driver: * 18650 Shield, for powering the 5v esp32: * 8 slot AA holder, for powering 12v motor: * Breadboard: * Jumper wires: Please note that items come and go on AliExpress, so do search for these items on other sellers as you may get better prices. Wiring Help: Connect the 2 motors to the 2 terminals on the side of the L298N, if the motors spin the opposite way to what you want, then just switch the polarity around. Connect the AA 12v pack to the L298N (the 3 port green terminal, right port isn't used) Remove the 2 jumpers from the L298N, we don't need those as the GPIO pins control the ENABLE. Connect the headers to your ESP32 (pin numbers may differ on your board, align with my code below) When the ESP32 starts, it'll always be in a pairing mode, so just hit the pairing mode on your controller and it should connect. If you're into ESP32 projects, robotics, or just like seeing cool stuff come together with code and wires, stick around! 📺 Previous video: Code shown: #esp32 #xboxcontroller #tankchassis #arduino #diyrobot #bluetoothrobot #roboticsproject #makerjourney #l298n #robotdrive
- 4287Просмотров
- 7 месяцев назадОпубликованоHalf-Done Side Quests
Controlling a Tank Chassis with an Xbox Controller & ESP32 | My DIY Robotics Journey Continues
Похожее видео


Популярное
Новини