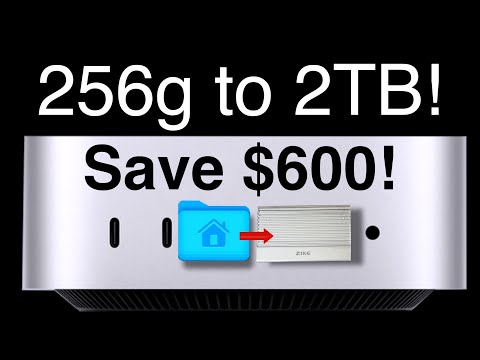
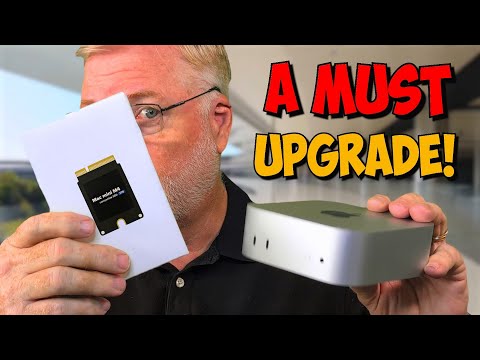
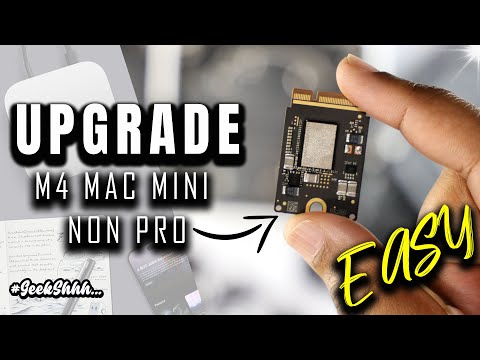
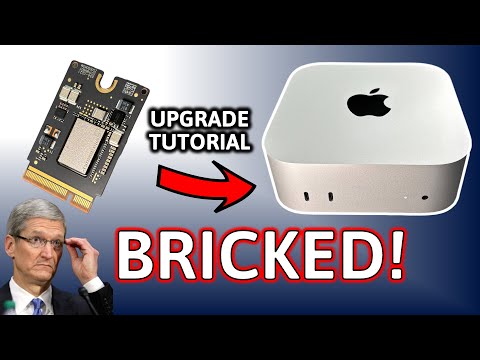
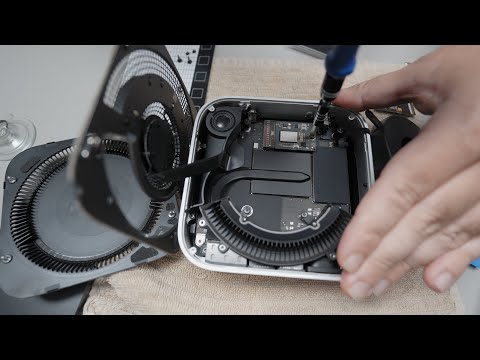
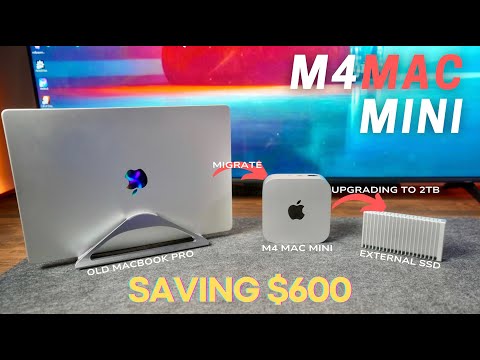
Here's how I upgraded a base Mac mini with an external SSD to maximize storage without breaking the bank. In this detailed guide, I’ll show you how to set up an external SSD as your main drive, install applications, manage files, and even configure Time Machine backups. Plus, I’ll crash the drive on purpose to test recovery! This step-by-step tutorial is perfect for anyone looking to save money on storage while getting the most out of their Mac mini. Stick around for practical tips, compatibility checks, and a real-world use case for creatives, gamers, and everyday users. 💡 What You'll Learn: How to add external storage to your Mac mini Running applications and files directly from an SSD Formatting an SSD for macOS (APFS setup) Setting up Time Machine backups Recovering data after an SSD crash Real-world performance with apps like DaVinci Resolve and games through Crossover 🔔 Don’t forget to like, comment, and subscribe for more tech tips and DIY upgrades! 💻 Shot Out 💵 Product Links M4 Mac Mini - Crucial X10 Pro SSD - OWC SSD Enclosure Only - OWC SSD Enclosure with 1TB Storage - Western Digital NVME 1TB SSD - Other Product Links: Camera: Camera Lens: Studio Light: Tripod: Monitor: Mouse: Keyboard: Lightbar: Speakers: Desk Mat: Dock: Macbook Pro: MacBook Pro Stand: M4 Mac Mini: 🌐 SOCIAL MEDIA LINKS 📸 Instagram: #MacMiniUpgrade #ExternalSSD #SSDforMac #AffordableMacUpgrade #1TBStorage #MacMiniSetup #DIYStorage #CrucialSSD #APFSFormat #TimeMachineSetup #DaVinciResolve #MacGaming #StorageHack #256GBto1TB #DataRecovery #MacForCreatives #BudgetUpgrade #AppleStorage #MacTutorial #ExternalSSDBoot Disclaimer: Some of the above links are affiliate links, and I may receive a small commission (at no additional cost to you) if you make a purchase.
- 219577Просмотров
- 1 год назадОпубликованоSean Aslam
Upgrade M4 Mac Mini to 1TB | Set Up an External SSD as Your Main Drive!
Похожее видео


Популярное
Новини