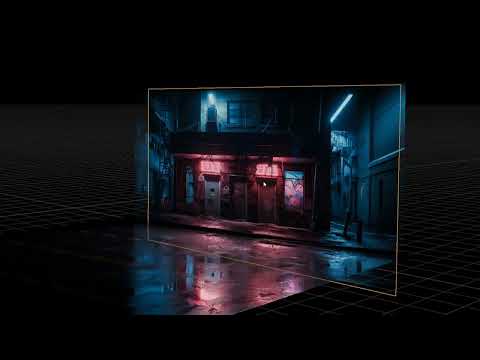
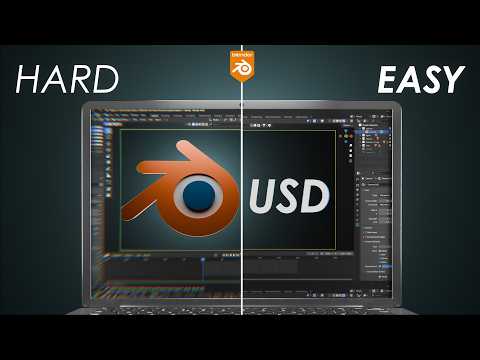
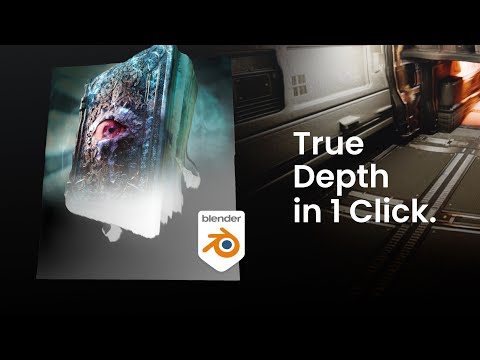
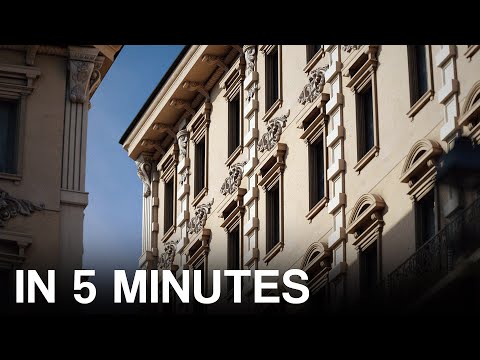
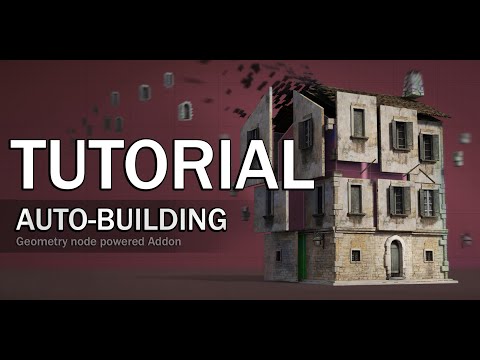
LINKS: Add-on: Diffuse: Window mask: Depth: Normal: Roughness: Step-by-step guide: %20Guide%20to% Summary: Turn AI-generated images into fully textured 3D models in Blender using my free add-on, PlanetoPBR. Generate an Image: Start by creating a detailed image of a building facade using the FLUX AI tool. Crop the image to focus on the area you want to texture. Create Texture Maps: Use various free AI tools to generate essential texture maps: Window Mask: Segment windows with Grounded Segment Anything. Depth Map: Create detailed depth maps with Marigold. Normal Map: Generate normal maps using Smart Normal. Roughness Map: Use Photo-Kako to create a roughness map. Organize Your Files: Place all your texture maps in a folder named “Textures” and label them appropriately (e.g., normal, depth, mask, diffuse, roughness). Import into Blender: Use my PlanetoPBR add-on to import the image plane with all the textures applied automatically. Fine-Tune in Blender: Adjust modifiers for subdivisions and displacement to get the perfect look. Follow these simple steps to quickly transform AI-generated images into realistic 3D models in Blender!
- 43341Просмотров
- 1 год назадОпубликованоAmelia Scarlett
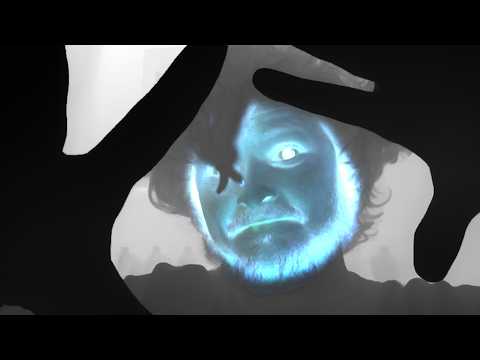
A.I.+ Blender - Simple 3D modeling with the help of A.I.
Похожее видео


Популярное
Новини