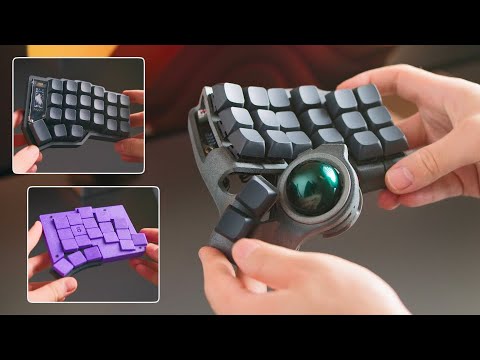
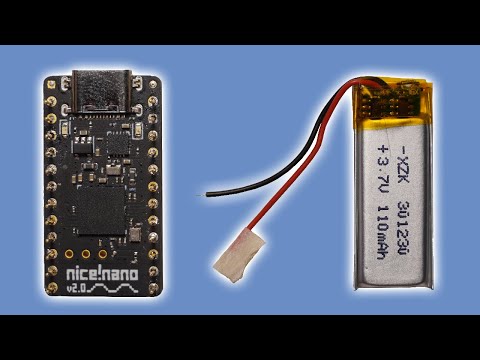
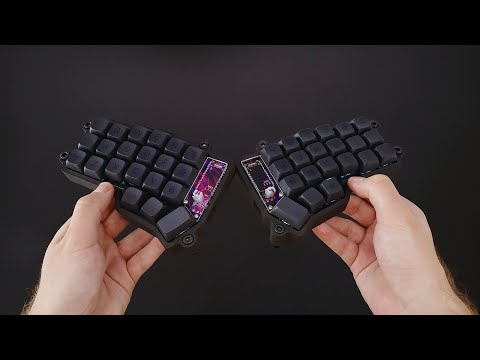
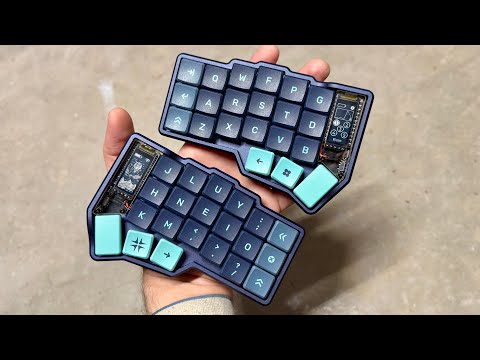
This video will go through all the steps to build a wireless Corne keyboard, from ordering the parts, building the physical board, and of course flashing the firmware with ZMK. The steps shown here apply to both the low profile Choc and MX variants for the Corne. The board uses Choc White switches which feel pretty good although I still prefer Choc Robins for clicky switches. This board also uses Nice View displays which use very low power draw making them perfect for a wireless build. The board shown in this video was provided by Typeractive, run by Nick, the creator of the Nice Nano wireless controller. I highly recommend if you decide to build a wireless Corne, get it from Typeractive. They have a really nice 3D configurator that gives you a real-time preview of what parts you'll be getting and makes ordering everything a breeze. You can find the board over on their website: ~ Links ~ My Keyboards: My Shop: Merch: ~ Handwiring Tools ~ TS100 Soldering Iron: D24 Chisel Tip: 63/37 Solder: ~ Handwiring Parts ~ 1N4148 Diodes: 16g Copper Wire: Raspberry Pi Pico: Arduino Pro Micro: Ethernet Cable: M2x6mm Screws: M2x8mm Spacer: M2 Heat Set Insert: Durock Stabilizers: ~ 3D Printing ~ Ender-3 Pro: PEI Magnetic Bed: Dual Z Upgrade: BLTouch Auto-Leveling: ~ Favorite Cheap Switches ~ Gateron Milky Yellow: Akko Lavender Purple: ~ Social ~ ~ Community ~ ScottoKeebs Discord: Handwired Keyboards Reddit: ~ Timestamps ~ 0:00 - Intro 0:32 - Typeractive 2:38 - Parts 4:18 - Controller 6:30 - Display 7:19 - Unsocketing 8:20 - Battery 8:53 - Switches 9:35 - Assembly 10:35 - Firmware 12:57 - Flashing 13:41 - Pairing 14:19 - Typing 14:36 - Outro ~ Disclaimer ~ Some links may be affiliate links where I will make a small commission. #corne #mechanicalkeyboard #zmk
- 291971Просмотров
- 2 года назадОпубликованоJoe Scotto
How to Build a Wireless Corne Keyboard
Похожее видео


Популярное
Новини