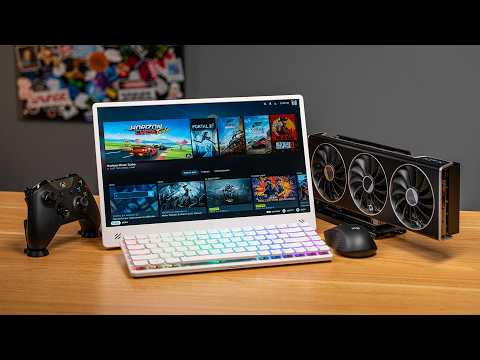
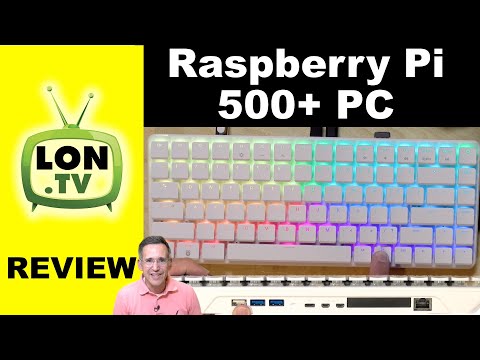
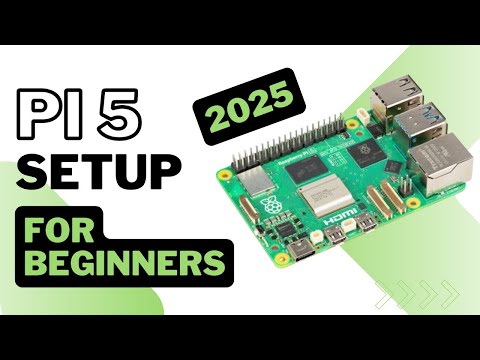
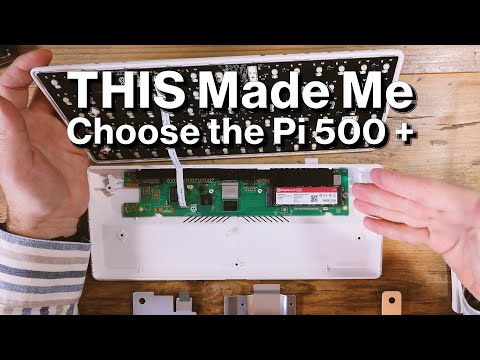
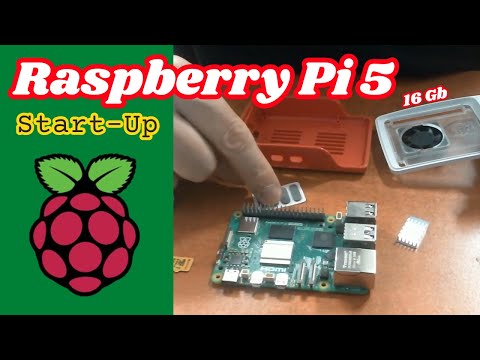
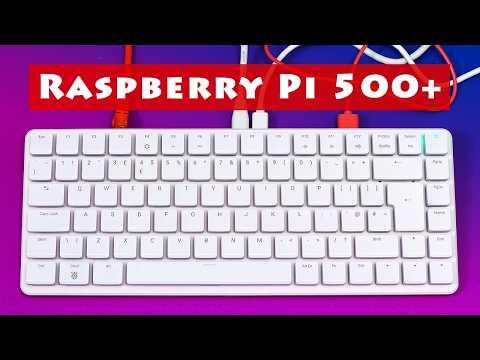
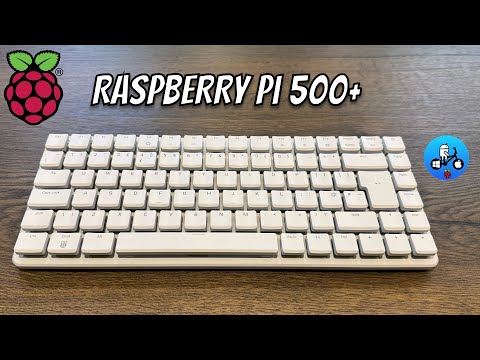
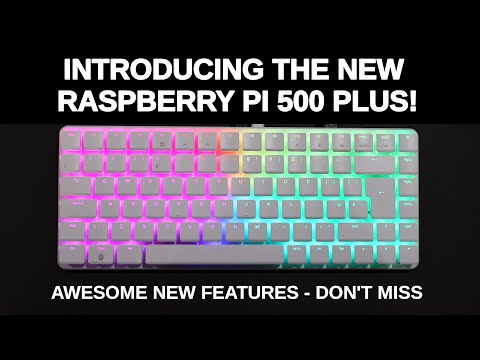
⚡Join the free Pi Mastery community → 🎁 Free Pi First-Boot Cheat-Sheet: What if your keyboard was the computer? In this video, I’ll show you how to unbox, set up, and customize the brand-new Raspberry Pi 500 Plus — a premium keyboard computer with mechanical switches, customizable RGB lighting, 16GB RAM, and a built-in NVMe SSD. We’ll go step by step: from powering it on, exploring Pi Connect remote desktop, to upgrading the SSD and even running GPIO projects. If you’re wondering whether the Pi 500 Plus can be a real desktop replacement or maker platform, this guide will walk you through everything. 👉 Join my community for more Raspberry Pi projects & resources: 📌 What You’ll Learn Raspberry Pi 500 Plus vs Raspberry Pi 500 Setup essentials & required accessories Mechanical keyboard switches + RGB lighting controls Pre-installed 256GB NVMe SSD & upgrade options (up to 2TB) Dual monitor support & aluminum cooling design Pi Connect remote desktop (better than SSH & VNC) How to remap keys with RPI Keyboard Config Using the GPIO header for LED and electronics projects Hidden Flappy Bird game + custom lighting effects ⏱️ Timestamps 00:00 – Raspberry Pi 500 Plus introduction 00:23 – Pi 500 vs Pi 500 Plus differences 00:45 – What you need to set it up 01:28 – Features: mechanical switches, RGB, NVMe SSD 02:16 – Upgrade options (SSD, keycaps) 02:37 – Ports & connectivity overview 03:01 – First boot & OS configuration 03:19 – RGB lighting presets & brightness 03:43 – Remote desktop with Pi Connect 04:23 – SSH, VNC, and optional settings 04:45 – Programmable keyboard & remapping keys 05:48 – GPIO LED demo & maker projects 06:32 – Expanding into sensors, motors, dual monitors 06:52 – Hidden Flappy Bird game & heatmap effects 07:32 – Final thoughts: Is it a desktop replacement? Disclaimer The results, performance, and configurations shown in this video are based on my personal experience with the Raspberry Pi 500 Plus at the time of recording. Your setup and outcomes may vary depending on your hardware, accessories, and software updates. Always double-check compatibility before upgrading components.
- 1323Просмотров
- 2 месяца назадОпубликованоRaspBerry Pi Made Easy
Raspberry Pi 500+ Setup
Похожее видео


Популярное
Новини