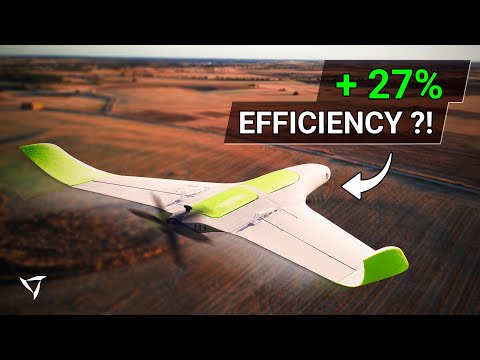
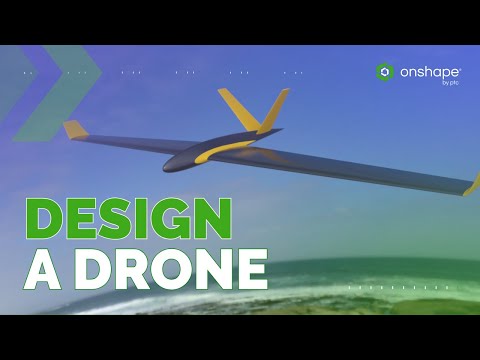
This is Part 2 of our high-efficiency UAV design series! After the incredible feedback on how we created the wing concept using single lines, we're now diving into the structural core of the design. We address your top questions by demonstrating how to transform raw aerodynamic surfaces into production-ready solid geometry using a fully automated and flexible workflow. Here's part 1 of this series, in case you missed it: In this video, you will learn the advanced workflow secrets to build a truly robust and portable glider: - Aerodynamic Control: We demonstrate how to parametrize critical flight stability features, such as washout (wing twist) and dihedral (vertical angle), directly into the wing geometry, alongside the initial swept wing profile. - Parametric Mastery: We introduce the Variable Studio, which controls every key dimension in a single place. This makes the entire design instantly flexible and adaptable to new materials or load requirements. - Adaptable Rib Automation: We showcase how to convert the surface into a solid and then use automated tools to create the internal rib structure. This process ensures the ribs are perfectly shaped and spaced. Ready to take your design to the next level? Get a free Onshape Professional subscription to unlock advanced features like Render Studio and structural analysis, which we’ll cover in the next video. You can also follow along step-by-step! Here is a link to part 1: Access the current, advanced model and all the features shown in this video: Subscribe for more: ☑️ HOME ● ☑️ Create a Free Account ● ☑️ BLOG ● FOLLOW US #CAD #Onshape #CAM
- 1427Просмотров
- 1 месяц назадОпубликованоOnshape
Design a Drone in Onshape (Part 2): From Surface to 3D-Printable Solid
Похожее видео


Популярное
Новини