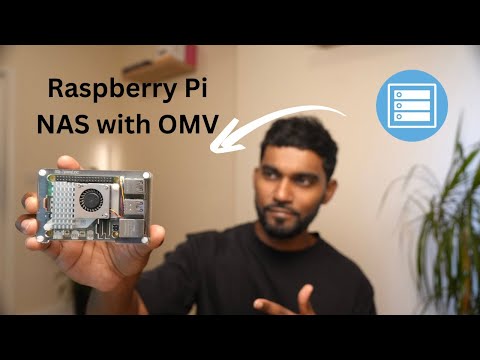
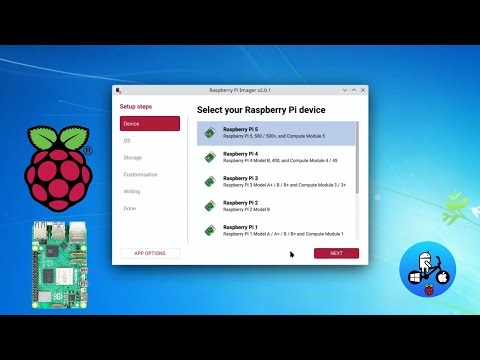
Today we're discussing how to turn our Raspberry pi 4b into an affordable Network Attached storage, NAS, solution so we can share files on our network! NAS appliances, like Synology's Diskstations or QNAP can be quite expensive for just the dedicated hardware and you still need to purchase storage drives! Free solutions like TrueNAS is certainly a good options if you already have sufficient hardware, but there's quite the learning curve to utilize TrueNas to its full potential! The good news is there are more accessible options like Open Media Vault, OMV, which is a free open sourced based NAS solution based off Linux. As we'll discuss, OMV can be installed via ISO as a stand alone NAS solution, (similar to TrueNAS) but we'll install it on a Raspberry 4b running Raspberry Pi OS lite on a 32GB Micro-SD card. After the installation on the pi, we'll peruse OMV, configure the storage drive and folder shares, assign users and then test it out on our Mac and iPhone! ⚠️Update 3/27/2025 - Make sure you have a hardwired Network connection! Before starting! Being on wifi can cause crashes! ⚠️ Considerations before you start: ➡️ Make sure you have a spare USB SSD (linked below) as OMV will likley utilize the entirety of the Micro-SD card and you cannot partition or allocate it for any additional 'storage'. ➡️ OMV requires at least a Raspberry Pi 2b, but we're going to be using a Rapsberry Pi 4b (linked below). ➡️ If your external USB storage drive doesn't have it's own power supply (such as my situation), make sure you're using a 5v USB type C-power adapter. See links below. Regardless, I recommended using an SSD drive so your Raspberry pi power requirements are minimal. 🎯 Stay Connected with Me Online! 🌐 Bluesky – Catch my latest thoughts and updates: @ 🧢 Merch– Rep the channel and support the content: 🎥 Patreon – Get early content, exclusive posts, and support the channel directly: 🎁 Want the full step-by-step guide to set up your Pi as a NAS? I’ve posted a FREE walkthrough on my Patreon with all the commands and tips! Chapter Markers: 0:00 Introduction 1:01 What is Open Media Vault 1:31 Agenda for Video 2:17 Format the SD Card, installing Raspberry Pi Imager 2:55 Flashing 32GB Micro-SD card with Raspberry pi OS Lite 4:11 Locating the Raspberry Pi's IP Address with iOS Network Analyzer 4:34 Updating the Raspberry Pi's OS 5:38 Installing OMV Scripts 7:03 Logging into OMV for the first time. 7:40 Configuring OMV's dashboard 8:53 Exploring OMV's network, storage, sharing, and user options 10:21 Raspberry Pi Power requirements 10:55 Configuring the 500GB USB HDD and 'File Systems'. 12:07 Configuring 'Shared Folders' 12:45 User Creation 13:45 Configuring file/folder sharing services/protocols 14:30 Assigning Shared folders with sharing services 15:57 Accessing shared folder on the network through our Mac 17:43 Accessing shared folder on the network through our iPhone 19:21 Conclusion 🛠️ Tools I used : ➡️ 6ft HDMI to Mini HDMI for connection of the Raspberry pi 4B to a monitor. ➡️ Raspberry 4b (complete kit includes Micro-Sd card and 5v power supply) ➡️ Raspberry Pi 4b 5v power supply ONLY ➡️ 32GB 2x pack Micro-Sd cards with SD adapter: ➡️ USB SSD storage (I used an HDD) ➡️ Raspberry Pi Imager: ➡️ SD Formatting ➡️ Open Media Vault (ONLY if you're retrieving the ISO) ➡️ Find your Raspberry Pi on your network with Network Analyzer Other Videos on Network Attached Storage: 1. Meet the NAS, Technology's Swiss arm knife 2. Tired of logging into your NAS, watch this! #OMV #nas #openmediavault #raspberrypi #linux #networking ⚠️ Disclaimer: This video is for educational and informational purposes only. I’m not responsible for any damage, data loss, or gremlins that may appear from following these steps—so please back up your data and proceed at your own risk. Every setup is different, and your results may vary. Some links may be affiliate links, which help support the channel at no extra cost to you. Thanks for keeping this content alive! 🙌
- 57052Просмотров
- 11 месяцев назадОпубликованоMackey Tech IT Solutions
The Ultimate Raspberry Pi NAS Build for 2025!
Похожее видео


Популярное
Новини