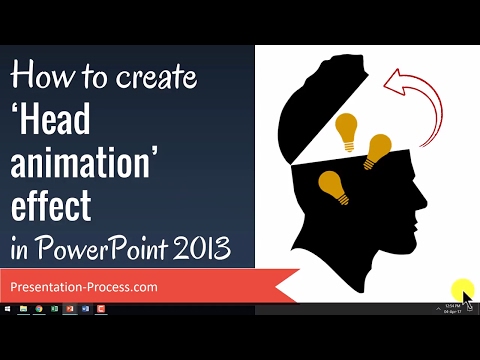
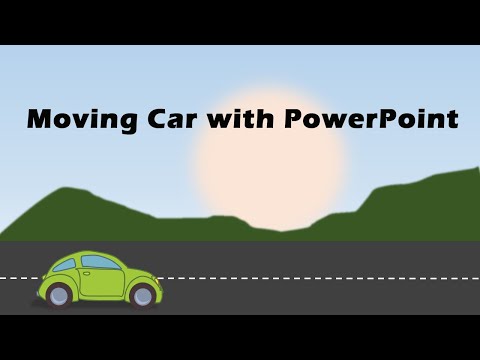
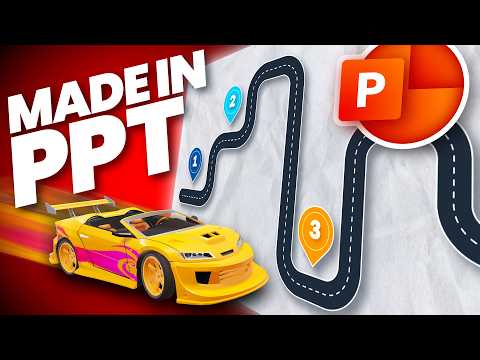
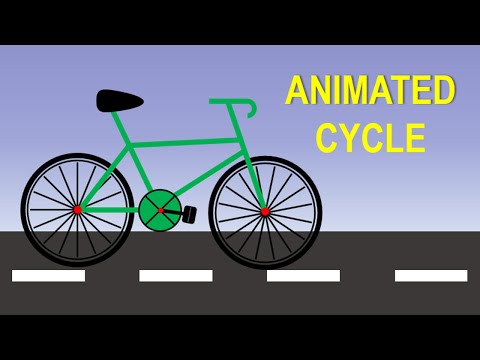
Learn How to Create Moving Car Animation Effect in PowerPoint. You can follow this tutorial in any version of PowerPoint. *Top Products from Presentation Process* Comprehensive All In One PowerPoint TEMPLATES Bundle 2.0 : Ramgopals PowerPoint Mastery TRAINING Program 2.0: All Templates & Training we offer: *Products we love, use, and recommend* Video Editing Software: Thumbnails & Graphic Design: Short Online Courses: PNG Graphics: Vector Stock Photos & Videos: Royalty-Free Stock Images: Mike for recording: Boya Omnidirectional Lavalier Condenser PowerPoint Version we use: Office 365 *Note these are affiliate links. I get a small commission when you buy using the link, without any additional cost to you. The animation effect works as follows: - There is a car vector graphic on the slide - On click, the wheels of the car turns, and the car moves forward in a realistic way. To create this effect: - Start by adding the car graphic to the slide We found the graphic from a website called and converted the picture from SVG format to WMF format. - Ungroup the car so that parts of the wheel are available as separate object - Group each of the wheels - Convert the rest of the car (except wheels and road) back into a picture to reduce file size - Animate the main car and the wheels with Line Motion Path animation - Adjust the direction, timing and length of the Motion Path animation - Add spin animation to the wheels to get a more realistic movement of the car - This completes the effect.
- 172453Просмотров
- 8 лет назадОпубликованоPresentation Process
How to Create Moving Car Animation Effect in PowerPoint
Похожее видео

Популярное
Новини