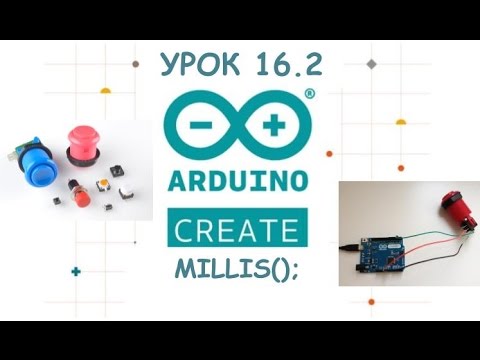
In this lesson we learn how to use millis() function with explanation and examples. We implement it such that Arduino program runs without delay and all program runs in the duration of time. Then we learn how to use map() so we can control LED with proper percentage like 60% intensity or speed or motor with percentage like 85% and we are not worried to have value from 0 to 255. Both with example. آشنایی با ملیس به فارسی(همین درس) This lecture is part of Robojax Arduino Course based on SunFounder kit with lesson 1 starts here: The best thank you for me is to Subscribe 🔔 to my channel, like 👍 the video It is greatly appreciated. 🔔 😊. I will reply to all Subscriber's 🔔 questions. So make sure to Subscribe.😊 . **** Purchase this SunFounder Arduino Learning kit from Affiliated Stores *** Amazon USA: Amazon Canada: Amazon Germany : Amazon UK: Amazon France: Amazon Spain: Amazon Italy: Amazon Japan: SunFounder website: eBay: AliExpress: Download Arduino Code: 📚⬇️ Download and resource page for this video Use Chapters from timeline or click on the time 00:00 Introduction 1:18 What is millis() 3:07 Demonstration 1 8:07 Example 2 push button 12:12 Example 3 17:19 mapp () 19:45 map code demonstration 22:39 map() using a custom function #SunFounder #robojaxSunFounder Tutorial by Ahmad Shamshiri form Canada If you found this tutorial helpful, please support me so I can continue creating contents like this. Here is PayPal link Power Supply I use: DC 30V 60A Power supply: DC 60V 30A Power supply: If you found this tutorial helpful, please support me so I can continue creating contents like this. (PayPal): 🔥 Follow me on Facebook Follow me on TikTok @robojaxtv Follow me on Twitter: Follow me on Instagram: Get other projects code ⬇️ 🔥 **** AFFILIATE PROGRAM **** We are a participant in the Amazon Services LLC Associates Program, an affiliate advertising program designed to provide a means for us to earn fees by linking to and affiliated sites.
- 6014Просмотров
- 3 года назадОпубликованоRobojax
Lesson 14: Arduino Millis (no delay) and map functions | SunFounder Robojax - RJT597
Похожее видео


Популярное
Новини