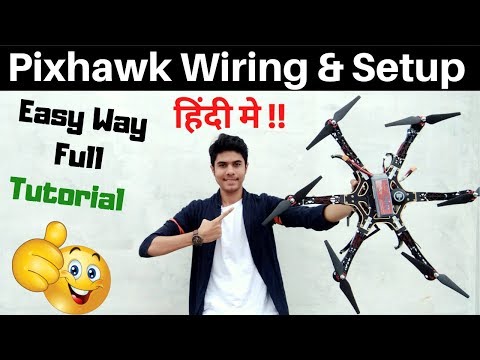
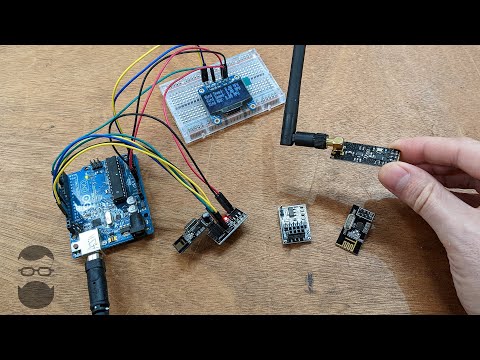
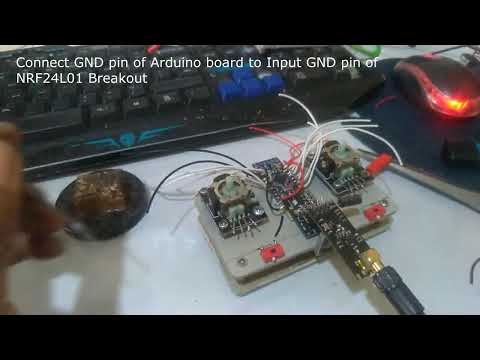
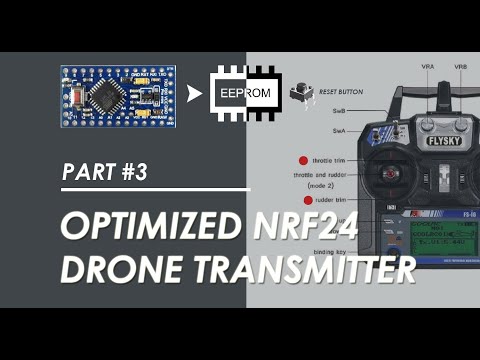
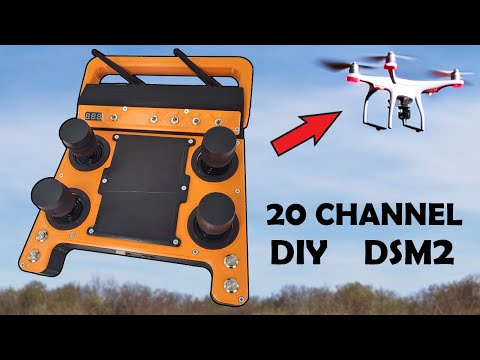
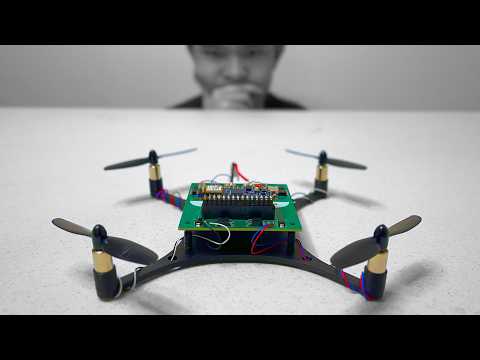
*NRF24 Transmitter: Add Trimmers Button + LCD* Att: before upgrading your NRF24 TX, please understand how standard NRF24 TX works as in: (to minimize problem appears) Batere 9v 6800 mAh untuk remote control: *This video is crucial for anyone who wants to learn how to make their NRF24 drone hover steadily with the altitude hold mode activated automatically—if they choose to implement it.* (Video ini sangat krusial bagi pilot drone NRF24 yang MENGINGINKAN dronenya bisa terbang Hover—Lepas remote tapi msh anteng). Hi again. This video is about How to Upgrade NRF24 Transmitter for NRF24L01 Multiwii QuadX with BMP180. Upgrading including: Replacing cheap analog joystick to specific joystick. I get the joystick from X-HJ14W Drone Transmitter. Please watch carefully and read the documentation written on the video since to make sure why this specific joystick is very important for our NRF24 Transmitter to be able to TRAIN our NRF24 Drone with BMP180 BMP180 is improved/upgraded version of BMP085. Multiwii 2.3 will recognize BMP180 as BMP085. That's why we can use BMP180 to make our NRF24 drone can fly on HOVER (Altitude Hold Mode ON). Using Trimmers (4 small buttons) we will try to train to make our drone stable when doing hover. *UPGRADED NRF24 DRONE TRANSMITTER COMPONENTS:* 1. Basic NRF24L01 (NRF24L01 PA/LNA recommended) 2. NRF24L01 Breakout (you can use AMS1117 voltage regulator) 3. Standard Left Joystick (Specific Joystick recommended) 4. Arduino Promini 328p 5v or Arduino Nano 5v 328p 5. 2 x Toggle Switch: AUX1 and AUX2 6. Power Connector 7. 2x Battery LiPO 18650 , 2x LiPO 14500 3.7 or 2x Li-Ion (connect to RAW pin or Vin pin) 8. 0,96 Inch OLED Display White 128 x 64 SSD1306 9. 4x buttons (low-high pitch and low-high roll) wires POWER ON/OFF Switch Note: If you use 1x Battery LiPO/Li-ION then use Step-up Booster DC-DC Converter to 5v and conect the output pins directly to VCC 5v and GND of Arduino board. To make this transmitter, you can get the schematic diagram and code that consists of: 1. NRF24 Transmitter without LCD 2. NRF24 Transmitter with LCD 3. NRF24 Transmitter with Cheap Analog Joystick 4. NRF24 Transmitter with Specific Joystick + LCD **All documentation can be grabbed here:** Full code and Schematic Diagram: *Related Videos:* How to make Standard NRF24L01 Transmitter: How to Instal & Activate Altitude Hold on NRF24L01 Quadcopter: How to make NRF24L01 Quadcopter + Multiwii 2.3: Flying Test: Main Troubleshooting Tips with NRF24L01: Upgrading NRF24 Transmitter for NRF24L01 with Trimmers: *Related Tags:* nrf24 transmitter, nrf24l01 transmitter, altitude hold, nrf24 quadcopter, arduino quadcopter, how to make arduino quadcopter with nrf24, mini drone transmitter and receiver, how to make remote control drone *MENGAPA Remote Control DRONE NRF24 in Penting?* Ini adalah proyek arduino satu-satunya tentang Fitur Altitude Hold pada Drone Transmitter PERTAMA yang ada di Indonesia - yang memiliki fitur Altitude-Hold Trainer agar drone NRF24 anda bisa terbang dengan fitur HOVER. Channel youtube @Ardujimmy adalah satu-satunya proyek drone terlengkap dan selalu upgrade fitur agar tidak sekedar proyek prototype. Silahkan cek Demo Flying yang ada di koleksi video kami. Semua kode siap pakai, schematic diagram lengkap, tutorial step-by-step akurat dan mudah diikuti dan GRATIS. Sudah banyak yang berhasil dan lebih dari 80% oleh orang India. May God Bless India! Jika mereka bisa, knp kita gak bisa. INDONESIA wajib mahir bikin drone sendiri! inilah saatnya! #ardujimmy #nrf #nrf24 #nrf24l01 #transmitter #receiver #multiwii #quadcopter #drone #buatdrone #bikindrone #nrf24transmitter #bmp180 #bmp280 #onhover #altitudehold #flightcontroller #arduino #arduinoproject #arduinopromini #arduinonano #arduinouno
- 9249Просмотров
- 11 месяцев назадОпубликованоArduJimmy
Upgrade Your NRF24 NRF24L01 Drone Transmitter - PART #2
Похожее видео

Популярное
Новини