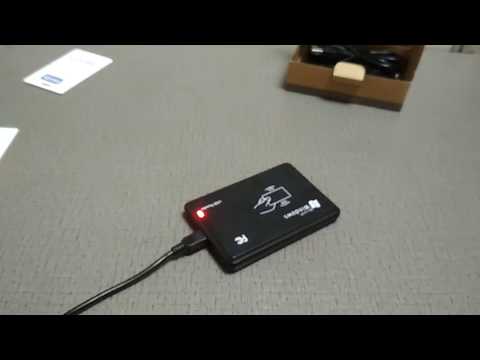
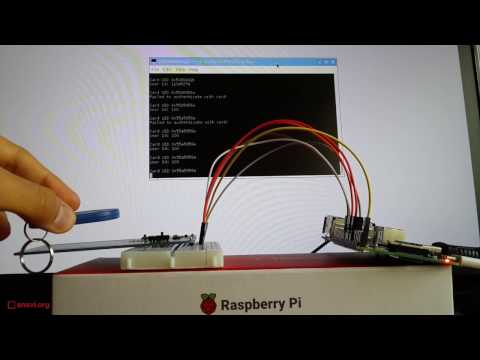
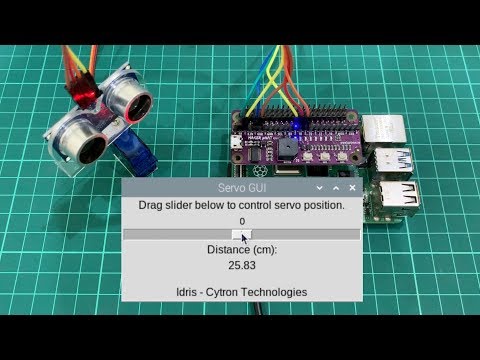
New to Cytron? Get a 10% Discount with this voucher code: CYTRONSECRET10 Or click here to claim: This video will show you how to create a simple GUI for USB RFid reader model EM4100 using Raspberry Pi. For more DIY projects. Join our Telegram community here: &tracking=yt-community&utm_campaign=yt-community Tutorial Link: &tracking=yt-products&utm_campaign=yt-products Item used in the video: 1️⃣ Raspberry Pi 4 Model B (1GB RAM) &tracking=yt-products&utm_campaign=yt-products 2️⃣ 125KHz USB RFID Smart Card Reader EM4100 &tracking=yt-products&utm_campaign=yt-products 3️⃣ Maker pHAT &tracking=yt-products&utm_campaign=yt-products 4️⃣ Raspberry Pi Approved MakerDisk microSD Card &tracking=yt-products&utm_campaign=yt-products Visit: &tracking=yt-products&utm_campaign=yt-products 👩🎓👨🎓 If you are a student, sign up for a student account here: &tracking=yt-community&utm_campaign=yt-community 👨🏻🏫👩🏻🏫 If you are a teacher, sign up for a teacher account here: &tracking=yt-community&utm_campaign=yt-community Music #GraphicalUserInterface #RaspberryPi #RFid
- 57313Просмотров
- 6 лет назадОпубликованоCytron Technologies
Create A Simple GUI For USB RFid Reader RM4100 Using Raspberry Pi [BM]
Похожее видео


Популярное
Новини