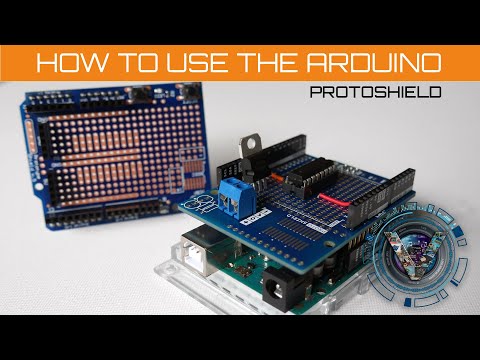
#protoshield #arduinouno #irsensor #unoprotoshield #l293d #raspberrypipico #l293d #pipico #arduinoshield #makeyourownarduinouno I came up with 4 projects that use an Arduino Uno protoshield. Make your own Arduino Uno, a Raspberry Pi Pico GPIO expansion board and an ESP 8266 expansion board, are three projects I also share in this video. The main project in this video was something I started that was worth moving from a breadboard and onto a protoshield; an IR Remote Controlled Car. When I thought about which shield to use, I knew I wanted something like the official Arduino Uno shield that came without the headers pre soldered, but something like the Elegoo Uno protoshield that had more useful traces. I share which protoshields I chose, the parts I used, the code, layout and schematics. How do you use an Arduino Proto Shield? What can you do with an Arduino prototyping shield? If you are just starting out with Arduino, physical computing or hobby electronics you may be considering purchasing or using a prototyping shield. As I am progressing in my Arduino and electronics education, I am considering the possibility of using a protoboard / protoshield. VIDEO CHAPTERS: 00:00 Introduction 00:21 Overview of the main project My smart car kit experience - 0:38 How I chose my protoshield - 1:15 Project 2: Make Your Own Arduino Uno - 2:22 VideotronicMaker Uno parts page - 3:36 Projects 3 and 4: Raspberry Pi Pico expansion boards- 4:48 The project that lead to all of this:- 6:21 How I mapped out the first shield- 7:07 Back to full details of Project 1: IR Remote controlled car- 9:03 Layout, schematic and parts- 9:19 Making the IR Remote Car Shield- 11:00 Final build and test- 13:23 PARTS LIST FOR IR REMOTE CONTROLLED CAR: - Arduino Uno - Protoshield of your choice - Male header pins - 7805 5V Voltage Regulator - Heatsink for the regulator - L293D Dual H-bridge motor driver - 2- 50V 10 micro farad electrolytic capacitors - IR receiver -Optional 1838B Infrared receiver -Led -1K Ohm resistor - Remote - 9V battery and battery clip - 2- 4pin female headers - Solid core hookup wires - 2- 3-6V Geared DC motors - The nuts, bolts and wires that go with it all - 2- wheels - 3d printed chassis LINKS FOR THIS PROJECT: Code & Project Page for IR Remote Controlled Car (with code, layout and schematics) : VideotronicMaker Arduino Uno Parts reference page on : Arduino Project Hub Page for this project: Schematic for the Official Arduino ProtoShield: All of the components mentioned can be purchased on Amazon. I have not posted links because I find that eventually most Amazon links can become out of stock and result in empty links. Electrocookie made great shields here. I am not affiliated with them in any way and this is not a paid promotion. I thought they deserved a link to their Amazon store: The Arduino Uno R3 and Arduino ProtoShield TSX 00083 can be purchased on the official Arduino website. Smart car project from: Exploring Arduino by Jeremy Blum
- 11820Просмотров
- 3 года назадОпубликованоVideotronicMaker
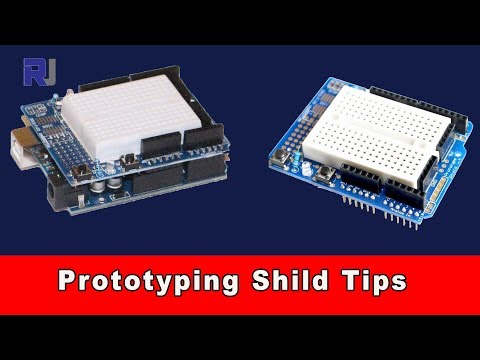
How to use an Arduino Proto Shield and Elegoo Prototyping Shield-Part 2
Похожее видео


Популярное
Новини