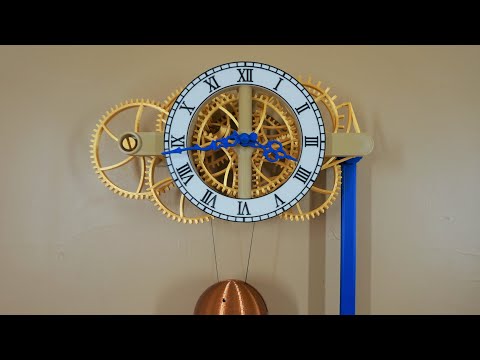
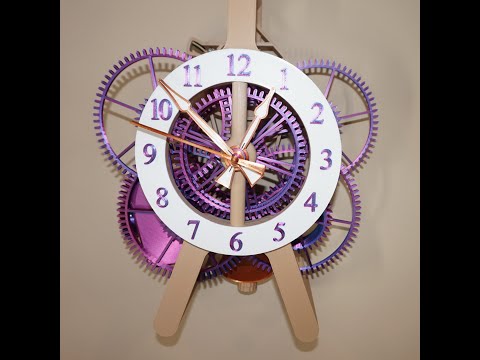
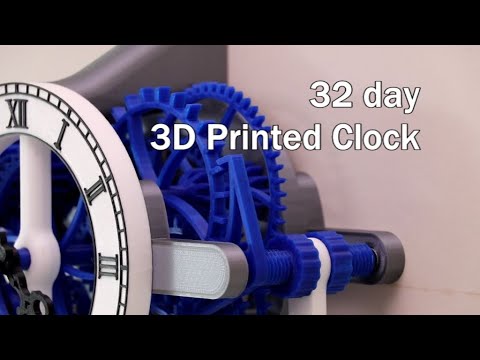
Assembly instructions for the 3D printed Easy Build Clock available at MyMiniFactory. This video focuses on the component pre-assembly steps. There are two versions of the clock. The largest clock at can be configured with runtimes up to 21 days The smaller version at can be configured with runtimes up to 32 days The assembly process has been simplified as much as possible using only a small number of non-printed parts. Topics: 0:00 Intro 1:12 Frame assembly 4:00 Winding drum 5:40 Ratchet 8:58 Minute hand 14:07 Shaft collars 15:54 Pendulum 19:28 Weight shell 23:49 Closing Related videos: Clock overview Assembly part 2, adding gears Debug steps
- 12724Просмотров
- 4 года назадОпубликованоSteve Peterson
EZ Build Clock Assembly Part1 Components
Похожее видео


Популярное
Новини