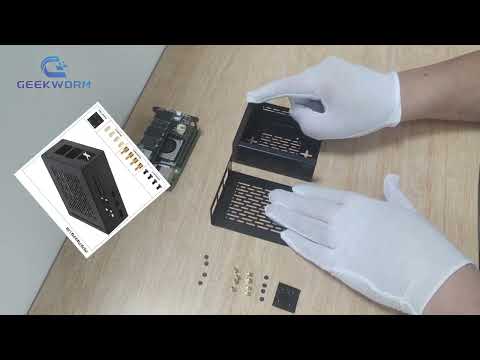
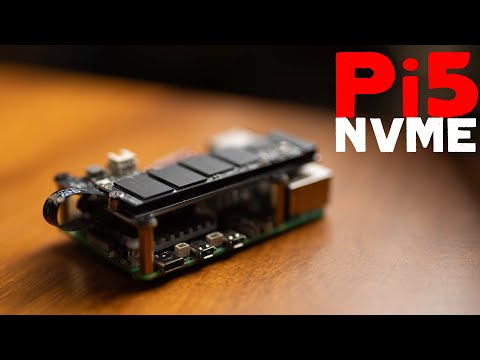
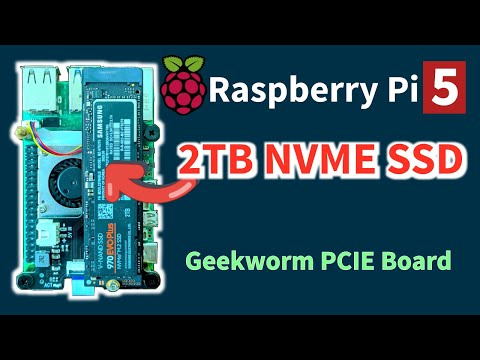
#RaspberryPi #RaspberryPi5 #Geekworm #NVMeSSD #SSDHAT #PCIe #PiAccessories #RaspberryPiUpgrade #TechTutorial #DIYelectronics #ITSamuraiTeacher Get ready to unleash the full potential of your Raspberry Pi 5 with the Geekworm X1001 NVMe SSD HAT! In this video, I'll unbox this awesome PCIe peripheral board and show you step-by-step how to install it on your Pi. We'll cover everything you need to know, including compatibility, supported SSDs, and how to power the X1001. What's in the box? Geekworm X1001 PCIe Peripheral Board Accessories Pack (screws, copper pillars) Key features of the Geekworm X1001: Designed exclusively for Raspberry Pi 5: Take advantage of the Pi 5's PCIe interface for lightning-fast data transfer and boot times. Supports various NVMe SSD sizes: 2230, 2242, 2260, and 2280 lengths are all compatible. Easy installation: Follow our clear instructions and get your NVMe SSD up and running in no time. Powered directly from the PCIe ribbon: No need for extra cables or power supplies. Troubleshooting tips: If you encounter any issues during installation or booting, don't worry! I'll share helpful tips and resources to get you back on track. Important Note: This video only covers the installation of the Geekworm X1001. You'll need a Raspberry Pi 5, an NVMe SSD, and a power adapter (recommended: Geekworm PD 27W) to complete the setup. Don't forget to like, comment, and subscribe for more Raspberry Pi tutorials and projects! Join this channel to get access to perks:
- 4841Просмотров
- 1 год назадОпубликованоIT Samurai Teacher
Unboxing & Installing Geekworm X1001 NVMe SSD HAT on Raspberry Pi 5 #nvme #Pi5Upgrade
Похожее видео


Популярное
Новини