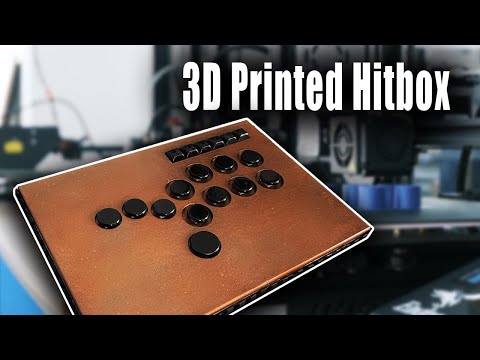
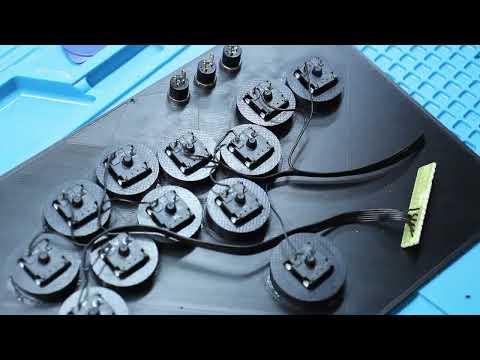
Visit for rapid PCB creation and 3D printing services! Ready to level up your fighting game setup? In this video, I will guide you through building a compact hitbox or mixbox style controller using a 3D-printed design. I will cover everything you need: materials, tools, assembly steps, and performance tips. Perfect for precise inputs and portability, this fightstick build is great for competitive gamers and hobbyists alike. Whether you’re a beginner or a seasoned player, this build is a fun and rewarding project. Follow along to create your own fighting game controller! This is a smaller Hitbox controller based on the original design by Marshall Swann. I love the look of the design created by Marshall Swann but I wanted to modify it to work with the equipment and hardware that I already have. Please see the “Differences of the remix” section on the Printables page for a detailed list of the changes made to this model. This remix can be printed on typical Ender 3 clones with a 220x220 print bed. // Original Creators Controllers: @MarshallSwann_620220 Arcade Buttons: Button Caps: // 3D Model Files Hitbox: Mixbox: // Parts Needed (Affiliate Links) 1 - Raspberry Pi Pico: 13 - Mechanical Keyboard Switches: 5 - 8mm Momentary Switches: 6 - 12mm M3 bolts: 1 - USBC Breakout: (Optional) - OLED Screen: (Optional) - Rubber feet for the bottom // Firmware GP2040-CE: // My Tools (Affiliate Links) Soldering Iron: Fume Extractor: Tool Kit: ESD Mat: 3D Printer: PETG Filament: Print Bed: // Follow me on Twitch // Chapters 0:00:00 Introduction 0:00:16 Project Overview 0:01:51 Design Changes 0:03:31 Different Versions 0:04:15 Parts Needed 0:04:55 How to print 0:05:54 Don't have a 3D printer? 0:06:36 Flashing Firmware 0:07:10 How to assemble 0:08:33 Wire it up! 0:12:35 Firmware Configuration 0:13:56 Firmware Features 0:15:25 Demonstration 0:16:41 Conclusion 0:17:56 The end #gaming #3dprinting #madmodlabs
- 29159Просмотров
- 1 год назадОпубликованоMad Mod Labs
I Built a 3D Printed Hitbox Controller and YOU can too!
Похожее видео


Популярное
Новини