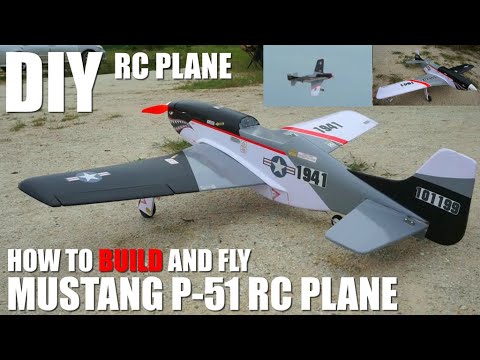
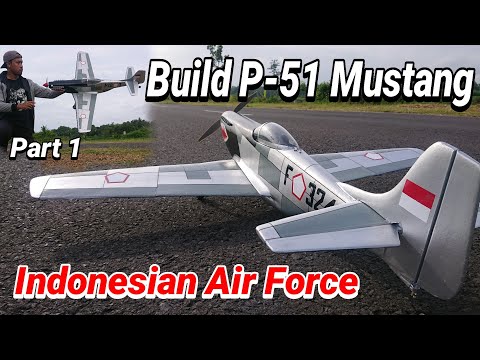
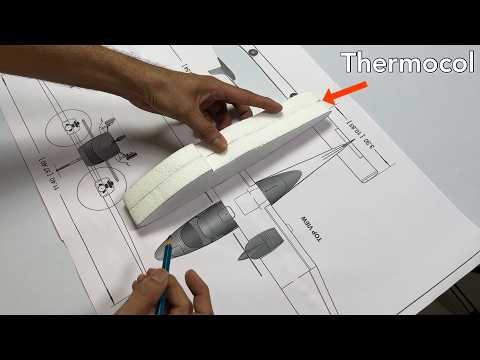
Diy Rc To Build P-51 Mustang RC Plane for Beginners Step-by-Step Foam Board Guide Part 1. In this video, you'll learn how to build a P-51 Mustang RC plane from foam board. We'll cover everything from cutting the parts to setting up the electronics. Perfect for beginners! Learn how to build your very own P-51 Mustang RC plane from scratch! This beginner-friendly tutorial takes you step-by-step through the entire process of constructing a flying replica of the iconic WWII fighter. From cutting foam board parts to installing electronics, we cover everything you need to know. No prior experience is necessary. This DIY project is perfect for anyone who wants to learn how to build RC airplanes and experience the thrill of flight. We'll guide you through selecting the right materials, assembling the airframe, and setting up the flight controls. Let's build a P-51 Mustang together! Build Your Own P-51 Mustang RC Plane: A Comprehensive Guide Get ready to take to the skies with your very own P-51 Mustang RC plane! This detailed guide will walk you through everything you need to know to build a realistic and flying replica of this iconic WWII fighter. Whether you're a seasoned RC enthusiast or a beginner just starting out, this tutorial is perfect for you. Essential Materials: Foam board: The core material for your plane's structure. Choose a thickness suitable for your desired plane size. Balsa wood: Used for reinforcement in critical areas like wings, tail, and control surfaces. Craft sticks: For internal structure and support. Hot glue: For bonding foam board and balsa wood. Epoxy glue: For stronger joints where needed. Ruler: For accurate measurements and cutting. Hobby knife: For cutting foam board and balsa wood. Sandpaper: For smoothing surfaces. Tape: For temporary holding of parts. Acrylic paint: For customizing your plane (optional). Electronics: Brushless motor: Size 2217 1400KV, suitable for medium-sized planes. Electronic speed controller (ESC): 40-60 Amps, matched to your motor and battery. Li-Po battery: 3S 2200-3000mAh. Li-Po battery charger: For charging your Li-Po battery. Servos: 9g servos, 4-5 pieces, for controlling ailerons, elevator, and rudder. Receiver: Compatible with your transmitter. Transmitter: 6-channel: Offers more control options like flaps and landing gear, ideal for advanced flyers. 4-channel: Suitable for beginners or simpler aircraft setups. Additional Components: Propeller: 8 inches, matched to your motor. Landing gear: Typically 3 wheels. Heat shrink tubing: For protecting wires. Wiring: For connecting electronics. Hot glue gun: For quick bonding. Tools: Pliers, wire cutters, screwdrivers, etc. Choosing Your Transmitter 6-channel transmitters offer more flexibility, allowing you to control additional features like flaps and landing gear. This is ideal for those who want to explore advanced flight maneuvers. 4-channel transmitters are simpler and more beginner-friendly, providing control over the basic flight functions. Factors to consider when choosing a transmitter: Budget: Determine how much you're willing to spend. Introduction Let's build a P-51 Mustang! This step-by-step guide will walk you through the initial stages of constructing your foam board RC plane. Gather your tools and materials, and let's get started. Step 1: Cutting the Foam Board Carefully cut out the foam board pieces using the provided plans. Sand edges for a smoother finish and better glue adhesion. Step 2: Assembling the Fuselage Join the fuselage sides using hot glue. Reinforce with balsa wood for extra strength. Step 3: Constructing the Wings Attach spars to the wing ribs, then cover the frame with foam board. Hinge the ailerons. Step 4: Building the Tail Assemble the horizontal and vertical stabilizers. Attach the elevator and rudder. Step 5: Installing the Motor Mount Cut a hole in the fuselage for the motor mount and secure it in place. Step 6: Preparing for Electronics Cut openings for servos and receiver. Ensure a snug fit. 🚀วิดีโอคลิปนี้ผลิตและสร้างสรรค์โดย: วัช บังเอิญ (ศุภากร แก้วสะแสน) 📞 ช่องทางการติดต่อ/ติดต่องาน "วัช บังเอิญ เครื่องบินบังคับ" 🚀 สำหรับผู้ที่สนใจงาน DIY เครื่องบินบังคับ หรือต้องการติดต่องาน/สปอนเซอร์ สามารถติดต่อ ผม ศุภากร แก้วสะแสน หรือ วัช บังเอิญ ได้ตามรายละเอียดด้านล่างนี้ครับ: ✅Line ID : 0824424683 ✅Facebook ส่วนตัว : วัช บังเอิญ เครื่องบินบังคับ ลิงก์ Facebook : ✅ YouTube Channel: ❤️ (แหล่งรวมวิดีโอสอนทำเครื่องบินบังคับแบบเต็มรูปแบบ) ลิงก์: ✅TikTok: 🎵 (ชมคลิปสั้นสนุกๆ และการทดสอบบิน) ลิงก์: @doozix ✅Gmail : 📧 doozixson@ ✅ชื่อจริง : นาย ศุภากร แก้วสะแสน ✅ชื่อเล่น : วัช บังเอิญ ✅เบอร์โทรศัพท์ : 📱 062-680-9146 👉 ฝากกดติดตามทุกช่องทางเพื่อเป็นกำลังใจให้ด้วยนะครับ! ขอบคุณครับ! #p51mustang #RCplane #foamboard #DIY #RCflying #beginner #tutorial #WWII #aircraftmodel #foamboardairplane #RCbuild #firstRCplane
- 17129Просмотров
- 1 год назадОпубликованоDIY RC PLANE by HOBBY VLOG FLITETEST [วัช บังเอิญ]
Diy Rc Plane.How To Build P-51 Mustang RC Plane for Beginners Step-by-Step Foam Board Guide Part 1.
Похожее видео

Популярное
Новини