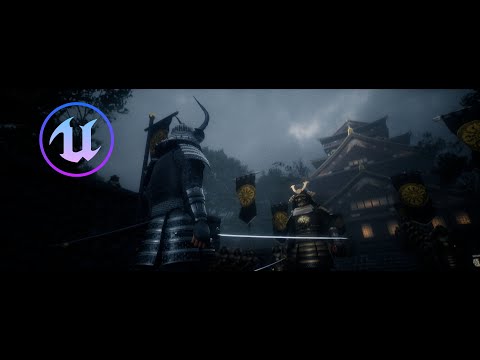
This is a tutorial showing the basics of how cameras work and relate to cinematography in Unreal Engine 5. I go over the basic settings of the Cine Camera Actor in Sequencer, and show how to compose and animate shots in multiple ways. I have set up a small scene with two characters to show these settings and principles in practice. If you want to create massive crowds of animated Metahumans for scenarios like huge cheering crowds, charging Medieval armies, or rampaging hordes of zombies, check out my brand new product, OverCrowd, on Fab: You can check out the in-depth tutorial here: Join the Patreon for exclusive content and discounts on future products: Morph or dub your voice and support the channel at the same time with Elevenlabs! QuickMagic for Body Mocap: ?code=clmew4 (if link is broken, referral code is: clmew4) Check out for music and SFX and support the channel at the same time: Join our Discord: Business Inquiries: 00:00-00:48 Intro 00:49-01:57 Scene Overview 01:58-02:39 Cinematic Viewport 02:40-05:09 Adding sphere focus tracker 05:10-06:51 Adding a Cine Camera to the Sequencer 06:52-07:46 Focus Setting and Focus Method, Tracking 07:47-11:17 Camera Lookat Tracking Settings 11:18-12:19 Overscan 12:20-17:36 Filmback 17:37-18:04 Lens Setting dropdown menu 18:05-20:56 Focus Settings, Debug Focus Plane, Tracking, Manual, and Rack Focus 20:57-23:58 Crop Settings, Anamorphic vs Spherical lenses 23:59-26:43 Focal Length, Prime lenses 26:44-28:56 Aperture 28:57-30:05 Frame Rate 30:06-36:50 Composing our first shot, Animating the camera in Sequencer 36:51-38:05 The lighting in the scene 38:06-44:55 Camera Shake 44:56-54:00 Post Processing, Chromatic Aberration, Bloom, Exposure, Dirt Mask, Lens Flare 54:01-57:56 Adding the lighting to the Sequencer to save it for the shot 57:57-01:05:03 Draft Render Settings, enabling Movie Render Queue, .jpg vs .exr 01:05:04-01:09:01 Bringing the draft render into Adobe Premiere and creating a project sequencer 01:09:02-01:14:02 Adjusting the shot with an Additive Layer on the Camera Transform track, adding a Snap Zoom 01:14:03-01:17:35 Adjusting the sun into frame, adjusting the lens flare to look more realistic 01:17:36-01:23:24 Rendering a 4k 16-bit .exr file, AA and Motion Blur settings, Engine Warm Up frames, saving our HQ Render Preset 01:23:25-01:25:54 Importing .exr file into Premiere, Working with Lumetri and the curves to do some basic color grading 01:25:55-01:31:20 Setting up another shot, creating a new Sequence for the new shot, animating new camera 01:31:21- 01:34:12 180 Degree Rule, how to set up coverage of a scene 01:34:12-01:35:39 Adjusting the lighting for the new shot 01:35:39-01:45:18 Setting up another Wide Shot, Queuing up multiple renders in Move Render Queue 01:45:18-01:51:16 Setting up the final shot, the Close Up of the Troll 01:51:16-02:00:55 Creating proxies in Adobe Premiere, setting up a multicam edit 02:00:56-02:07:30 Basic Color Grading 02:07:31-02:07:59 Final Film
- 33730Просмотров
- 8 месяцев назадОпубликованоCharlie Driscoll - Unreal Engine Filmmaking
Cinematography Deepdive for Beginners - Camera and Render Settings Tutorial - Unreal Engine 5.5
Похожее видео


Популярное
Новини