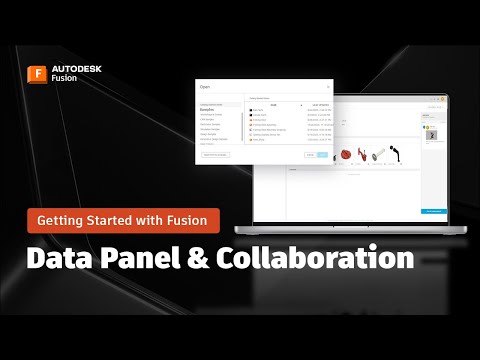
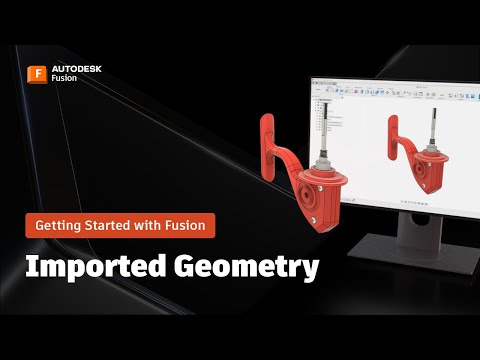
Welcome to the 11th video in our Getting Started Series! In this tutorial, we’ll bring all the components together and learn how to assemble a fishing reel in Fusion using advanced assembly tools. You’ll discover how to: Use the Joint Command to position parts precisely Apply As-Built Joints for components already in place Create Rigid Groups to move multiple parts as one Utilize Constrain Components for accurate alignment Link movements with Motion Links for realistic mechanical behavior Insert fasteners using Fusion’s built-in library for a professional finish We’ll start by inserting the Spool and aligning it with the shaft using joints. Then, we’ll connect the Bail Wire with an As-Built Joint and explore the Edit in Place feature for referenced designs. Next, we’ll assemble the handle and end cap, apply constraints, and link the handle rotation to the bail using Motion Links—complete with gear ratio adjustments for realistic motion. Finally, we’ll insert the Handle Grip and fastener, and finish by positioning the Tensioner with multiple constraints for perfect alignment. Along the way, you’ll learn tips like using the J shortcut key, toggling joint visibility, and managing the timeline for efficient edits. By the end of this video, you’ll have a fully functional assembly and a solid understanding of assemblies in Fusion. Reference the following exhibit as you follow along: ►FREE TRIAL | ►SUBSCRIBE | ►GET STARTED | ►TRY AN EXTENSION | CONNECT with Fusion on social media: INSTAGRAM | TWITTER | LINKEDIN | FACEBOOK |
- 1872Просмотров
- 2 недели назадОпубликованоAutodesk Fusion
The Secret to Smooth Assemblies | Getting Started with Autodesk Fusion Episode 11
Похожее видео


Популярное
Новини