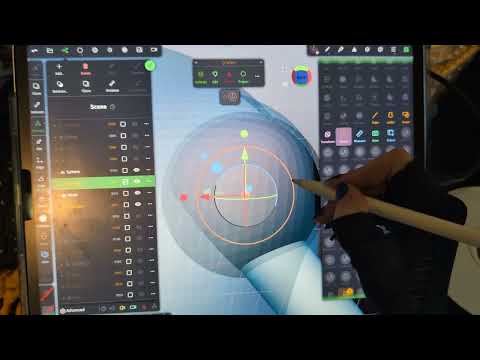
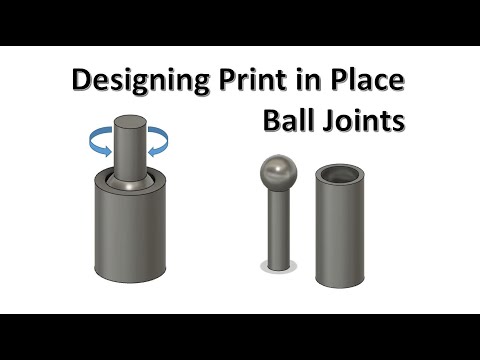
#3DPrinting #3dmodeling #nomadsculpt How to make articulated 3d prints - Ball and Socket Joints - PART 2 In this video, I walk you through how to create a functional ball and socket joint in Nomad Sculpt for 3D printing. Whether you’re working on action figures, prosthetics, or mechanical designs, this tutorial will show you step by step how to design and print a durable, fully articulating joint. Nomad Sculpt offers an intuitive interface for shaping and customizing models, and in this video, I’ll show you why it’s perfect for designing joints that require precise adjustments. I’ll also share tips on ensuring a snug fit, adjusting tolerance, and choosing the right materials for your project. Chapters 0:28 – Introduction to Ball Joints 0:47 – Why Use Nomad Sculpt for Ball Joints? 1:27 – Step By Step Ball and Socket Tutorial 6:30 – Tips for Creating Durable and Functional Joints If you found this tutorial helpful, make sure to hit the like button and subscribe to Maker Build It for more DIY, 3D printing, and maker content. Be sure to check out my other video on chain link joints for flexible designs: PART 1: Chair Joints: Nomad Sculpt: Recommended 3D printer filament (Affiliate Links): 3D Printers: Filament: 🔔 Make sure to like and follow for more Dungeons and Dragons, DIY / Maker Projects and 3D Printing! 🛠️✨ For more: Thanks for watching, and remember – keep on making it!
- 6834Просмотров
- 1 год назадОпубликованоMakerBuildIt
How to Create Ball and Socket Joints in Nomad Sculpt for 3D Printing Made EASY!
Похожее видео


Популярное
Новини