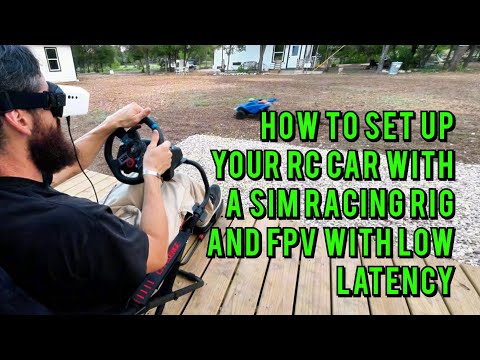
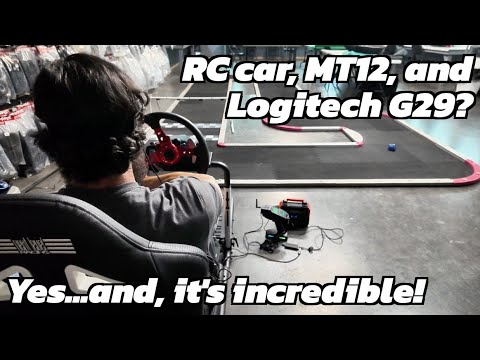
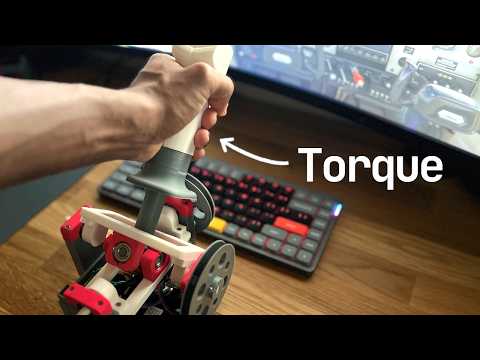
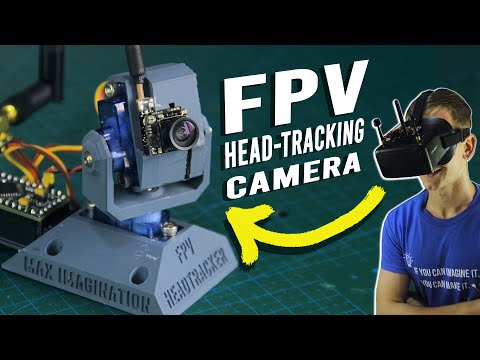
This video was sponsored by Brilliant! To try everything Brilliant has to offer—free—for a full 30 days, visit . You’ll also get 20% off an annual premium subscription. In my first video, I showed you how to control an RC car with a racing sim setup using a method that worked... but let’s just say it was a bit... involved. This time, I’ve got two new approaches - cleaner, faster, and way more accessible - so you can get behind the virtual wheel of a real RC vehicle without needing a degree in wizardry. Method 1: We're sending CRSF frames straight to the TX module using a USB-TTL adapter. No Arduino, no soldering - just a Python script, some axis data, and a healthy disregard for the intended use of hardware. Method 2: Still Python-powered, but this one uses an Arduino to generate a proper PPM signal into your TX’s trainer port. It’s a little rough around the edges, but hey, so am I. Also, some friends of mine sent me some actuators I’ll use for the fully immersive experience - because if you’re going to commit to a project, might as well risk whiplash. Affiliate Links & Parts Used: USB-TTL 6-pin Serial Adapter: Radiomaster Ranger: Radiomster Ranger Micro: Arduino Pro Micro 8MHz: Arduino Pro Mini 8MHz: Tools & Software: Project GitHub: VJoy: Joystick Gremlin: Arduino IDE: Headtracker: If this helped you (or at least confused you less than my first video), let me know in the comments. Got an idea for an absurd simulator hack or DIY monstrosity? Drop it below - I just might build it. And yes, I’m still combining hobbies until my wallet begs for mercy. Chapters: 0:00 - Intro 1:33 - Software 2:22 - Joystick Configuration 5:59 - The Module Method 8:31 - Wiring 10:06 - Running the Script 12:53 - Sponsor 14:32 - The Arduino Method 15:41 - Soldering 17:08 - Uploading the Sketch 18:25 - PPM (My Archnemesis) 20:19 - Setting up the TX 21:46 - Testing the Setup 23:40 - Video System and Head Tracking 25:19 - You can do it too #rc #simracing #fpv #arduino #diy #sponsored
- 11866Просмотров
- 6 месяцев назадОпубликованоbitsbits
How to Control Your RC with a Sim Rig - The best RC controller EVER!!!
Похожее видео


Популярное
Новини