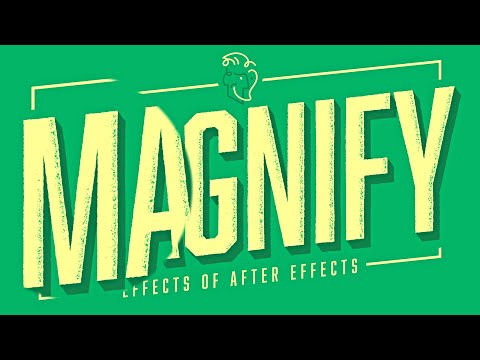
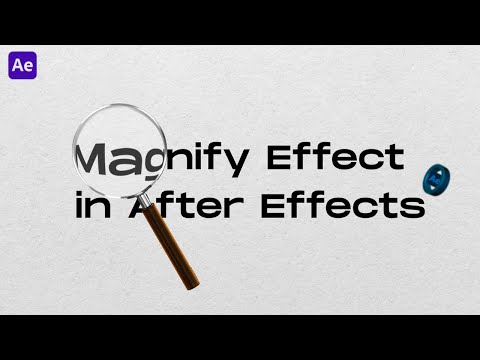
► SUBSCRIBE: ----------------------------------- Hello Everyone, Welcome to Rizat Graphics. In this tutorial, you will learn to create magnifying Glass effect in Adobe After Effects CC. Each and every tutorial is created short and easy especially for beginners. You don't need any third-party plugin to complete this task. It's a very easy process. 1. You just need to add a magnifying glass vector file. Just drag and drop to the layers section. 2. Right-click the vector layer and select Create Shapes from Vector Layer. 3. Create an Adjustment layer and apply the transform and bulge effect on it. Go to Effects and presets. 4. Add your Text, logo, or Image just below the adjustment layer. 5. Create a Null Layer just above all layers, and make the parent layer of Magnifying glass and Adjustment layer. I made this tutorial step-by-step. So, I recommend you to watch the video till the end, it will be easier for you to better understand. ----------------------------------- More Useful Tutorials Made with ❤️️ • Bouncy Text Animation: • 3D Cube Animation: • Wiggle Text Animation: • Animate Text on a Path: • Stroke Text Animation: • Twinkling Starts Night Sky: • Video Inside the Text: • Animate Your Text with Shapes: • Glossy Logo Animation: • Cinematic Text Animation: • Export Transparent Background: • Floating Text Animation: • Create a Realistic Smoke: • How to Animate Vector logo: • Animated Stars: • Round Text Animation: • Glitter Text or Logo: • Remove Green Screen: • Camera Shake with Slider: • Fake Snowfall Animation: ----------------------------------- DOWNLOAD FREE VECTOR: Magnifying Glass Vectors by Vecteezy Jungle Vector Background Background vector created by brgfx - ----------------------------------- If you have any questions, just comment below. Thanks for watching! 💜 #Adobe #AfterEffects #Magnify #MagnifyGlass #Tutorial #RizatGraphics
- 1752Просмотров
- 3 года назадОпубликованоRizat Graphics
Easy way to create Magnifying Glass Effect in Adobe After Effect Tutorial
Похожее видео


Популярное
Новини