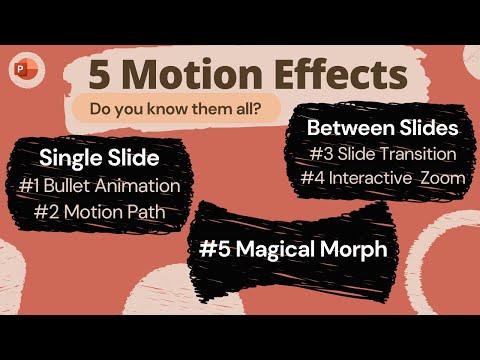
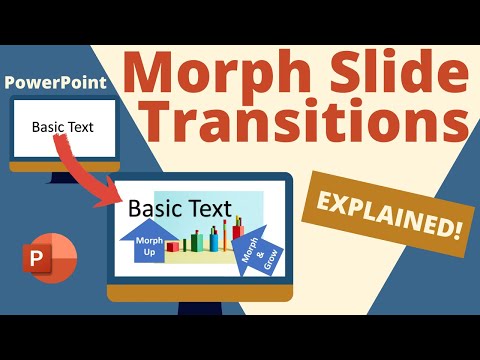
Get inspired with PowerPoint Morph Transition Magic projects. Use professional, not cheesy, examples to take advantage of the Morph Transition tool. Covers the creation of photo albums, zoom dramatic slide entrances, timeline animation, Ken Burns effects, photo pan, and how to create your own slide transitions. Course Web Page: Our favorite remote used in this presentation, the Logitech Spotlight Presentation Remote. See our review and buy at my Amazon Affiliate Link: 🎬 VIDEO CHAPTERS 🎬 00:00 Intro 00:27 Four Themes and 7 Projects 01:28 Dramatic Entrances & Exits 01:44 Morph Elements 02:33 Zooming the Canvas 04:10 Morph is Not Always The Right Tool 04:28 Morph for Focus 06:06 Morphing between Topics 06:53 Word Morphing Projects 07:35 Morph Sliding Windows 09:33 Photo Morphs 09:50 Photo Zoom 10:28 Slowing Down Morph with Duration 10:59 Photo Pan – Ken Burns Effect 11:54 Animated Photo Album 13:23 Create Your Own Custom Transition 14:06 Automated Advance Slide Transition 14:29 The Wrap Up ----------------------------------------- #PowerPoint #Morph #SpecialEffects ----------------------------------------- Instructed by Les McCarter Part of our Power UP! Training for Microsoft Office where we provide coaching, not just keystrokes videos. Let our expertise become your expertise for free. Visit our always free Office PowerPoint Training School at: Video Transcript: Welcome to the PowerPoint Morph Cookbook for professional designs. This is Les from Power Up Training and my goal is to inspire you to use the fabulously flexible Morph slide Transition tool found in PowerPoint 2019 up to the latest version of Office 365 for Windows and macOS. I will take four themes, and we will dissect how to create 7 different transitions for different purposes. In the end, your eyes should be opened to many more cool techniques that are not cheesy. Each of our four themes will introduce different variations to suit your slide needs, such as for entrance and exits, we will build an example to add drama to a new slide or let you provide laser focus on specific points on your screen. Because Morph transitions add motion between slides, it is a perfect tool to indicate change either between topics or represent elapsing of time. And in a whole genre of its own, Morph lets you create unlimited creative designs to display one or many photographs and images. Lastly, you can take your morph skill to create your own unique slide transition effects. So let’s dive in. Our first theme will be entrances and exits. This is an advanced tutorial that builds on our earlier Morph Fundamentals YouTube tutorial. If you need to brush up on these skills, do use the link above. Here are the elements to create a dramatic entrance. We need to understand that there is the main canvas, which is the display portion of the slide. And there is also an off-canvas section that is not displayed but is used as an off-stage, with elements just waiting to motion in onto the slide. The morph tool will take these outside elements and motion them onto the stage as you morph transition between slides. Let’s go through the two slides to see the off-stage objects grow and enter onto the main slide stage. Exiting out of the slide show, we see the two slides, but by default, you do not see much of the off-stage area, so on the bottom right corner, we can shrink down the slide view through the zoom slider and see where our off-stage elements are positioned. Location matters. The main title PROJECT CONCLUSION is offstage top and to the right, so it sill float in from that direction. While the date subtitle will be from below and just off a small amount to the right. Our drawing plans are not only located to the left, but it is a smaller sized image, so it will grow into the 2nd slide bigger size. Let’s check it out with the titles floating in from different directions the photo growing into place. And as a bonus, the third slide has the photo spinning out and the two text titles shifting over while changing color, then the text also exits the stage. For the 5th slide, a matching gray rectangle shifts in. So here is the slide where the plans photo exits out by ROTATING and SHRINKING . . . both great effects. and see that the TTILES have both moved to the lefts side of the slide with new text color. Now to the sliding gray rectangle coving up the final slide. If I click on the preceeding slide. And zoom out the view, you see the large rectangle sitting offstage, just wating to glide onto the last slide by way of morph. Here is the next class project. Same theme of ENTRANCE & EXIT but instead of a creating a full slide drama, we will use Morph to bring a dart’s bullseye focus on a key element of our slide. -----more . . .
- 29013Просмотров
- 4 года назадОпубликованоPower UP! Computer Training
Build 7 WOW PowerPoint Morph Magic Transitions Projects
Похожее видео


Популярное
Новини