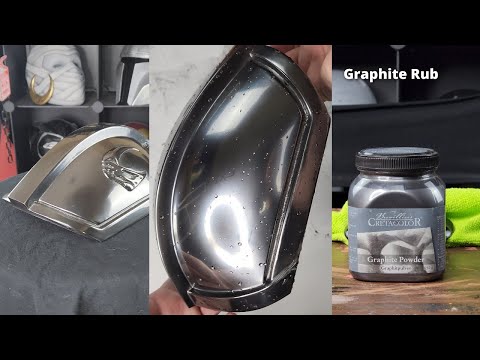
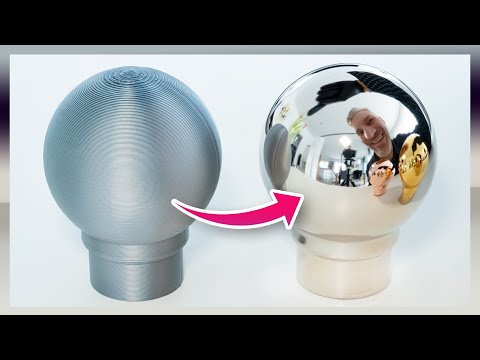
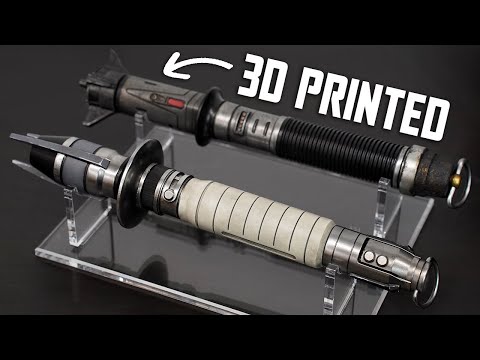
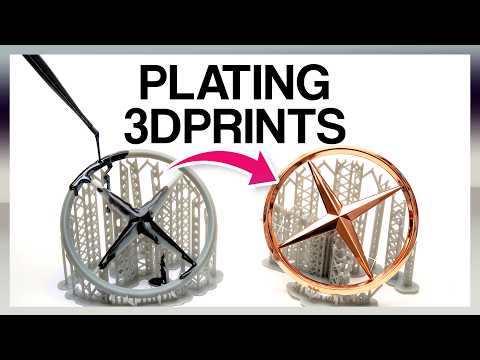
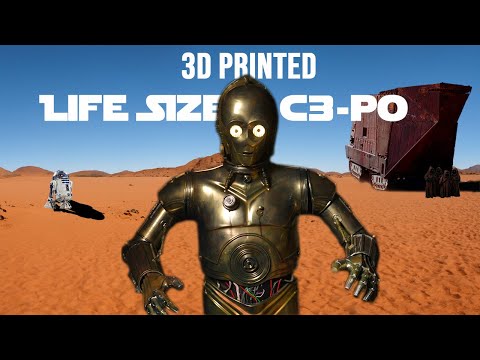
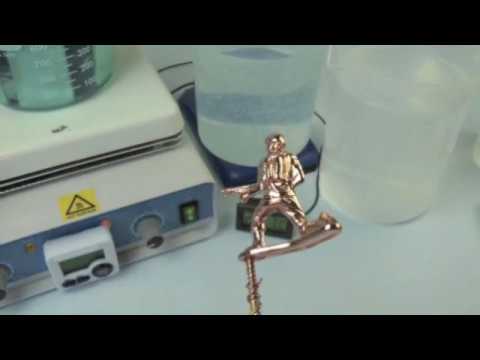
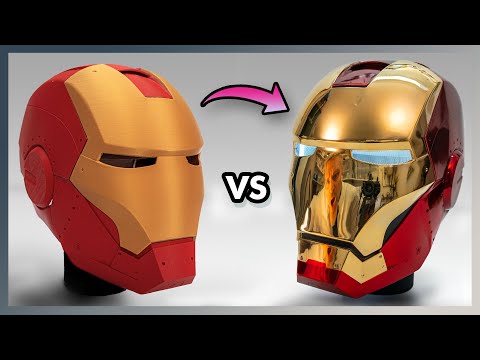
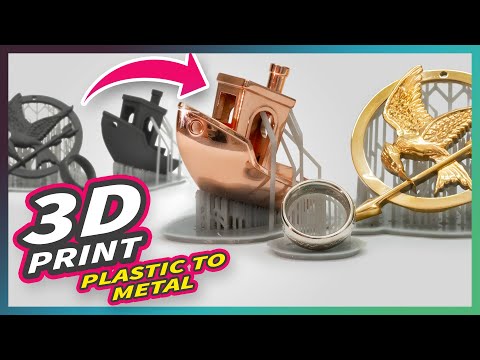
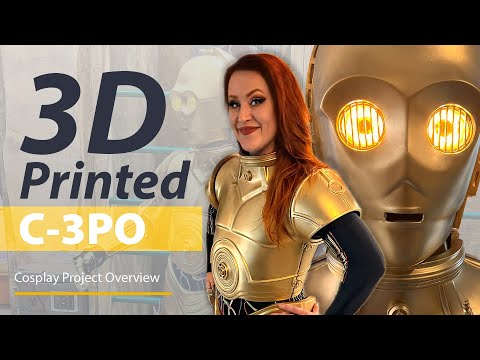
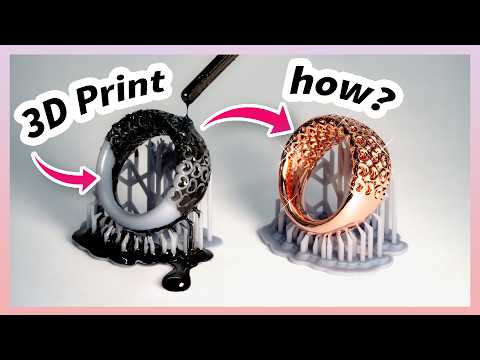
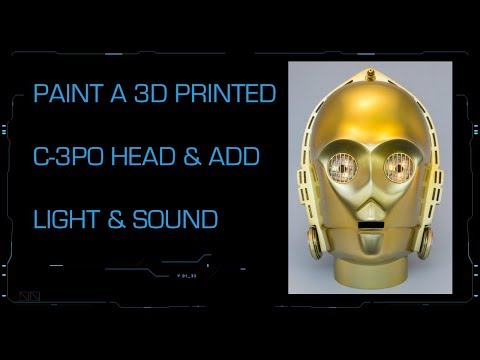
In this video, I show you how to transform 3D prints into stunning, metallic props using the magic of electroplating. Watch as I turn a 3D-printed C-3PO head into a realistic and eye-catching replica. I’ll walk you through the entire process, share essential tips, and discuss key considerations to help you achieve professional-looking results. Whether you’re into #3DPrinting, #Cosplay, or just love creating impressive props, this tutorial will inspire your next project. Ingredients that can be used for electroforming/electroplating prints: 🛒 Copper Anode: * 🛒 Bright Copper Electrolyte: * 🛒 Conductive Copper Paint * 🛒 Palladium Electrolyte * 🛒 Gold Electrolyte (Pen) * 🛒 Gold Electrolyte (Bad) * My Power Supply: 🛒 PEAK Tech 30A: * Optional: 🛒 The Mini Sander: * 🛒 GRAPHITE Paint * 🛒 Galvanic Degreaser * This is the gear I use: 🛒 Sony Alpha 7 IV: * 🛒 Camera Slider: * 🛒 Elegoo Saturn 4: * (*) These links are affiliate links. From time to time, I recommend products I know well and use, and, as a result, I may receive a commision if you purchase them using the affiliate link. Puchasig from affiliate links is at no extra cost to you. ▶ Chapters 00:00 Introduction 00:26 Creating the FDM Print and mockup 00:51 Creating the Resin Printed parts 01:18 Preparing the printed C-3PO before electroplating 02:50 Making 3D Prints conductive 04:10 Electroplating / Electroforming 3D Prints 07:11 electroplating smaller parts 08:21 Electronics for the C-3PO helmet / Eyes 10:01 Assembly of the Head 10:20 Conclusion ▶ Model used from Jesse_M: :3046951
- 161127Просмотров
- 1 год назадОпубликованоHEN3DRIK - Electroplating 3D Prints
How to create stunning Props from 3D Prints by Electroplating them!
Похожее видео

Популярное
Новини