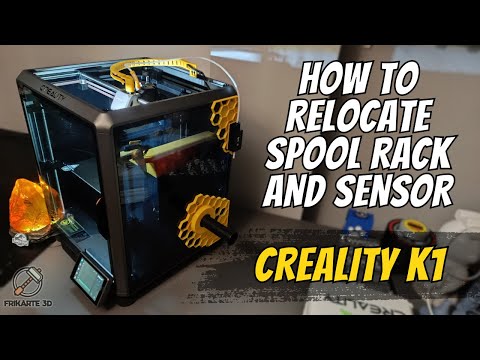
Join me as I bring the Creality Logo Box to life, from 3D printing to final assembly. This video is a step-by-step guide on creating your own Creality Logo Box, showcasing the intricate details and the precision of 3D printing. Don’t forget to hit the like button if you enjoy the content and subscribe for more 3D printing adventures! To assemble your Creality Logo Box, you’ll need M3 screws or rods. For the back and front holes, 30mm length screws are recommended, and for the handle, 40mm length. This design ensures a sturdy and durable build, ready to hold all your 3D printing necessities. I buyed this ones: Download @Creality3D New Logo Box FREE: - @crealitycloud9494 : - @Thangs3D : - @Printablescom : You can follow me on my Social Networks and 3D Printing platforms here: Instagram: Facebook: Twitter: YouTube: @Frikarte3D TikTok: @frikarte3d Discord: Webpage: Thangs: Creality Cloud: Cults3D: Printables: @Frikarte3D MakerWorld: Thingiverse: Frikarte3D © 2024 #Creality #3DPrinting #DIY #LogoBox #HowTo #AssemblyGuide #Frikarte3D #3DPrintedDesigns #MakerCommunity
- 14275Просмотров
- 1 год назадОпубликованоFrikarte3D
How To Print and Assemble - Creality New Logo Box Frikarte3D
Похожее видео
Популярное
Новини