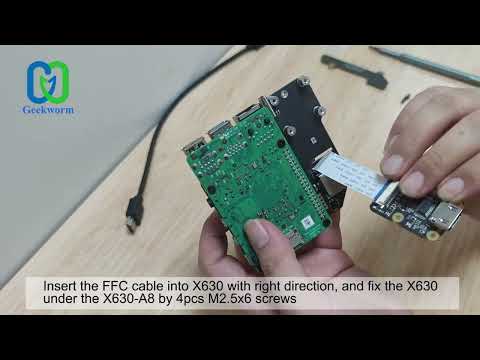
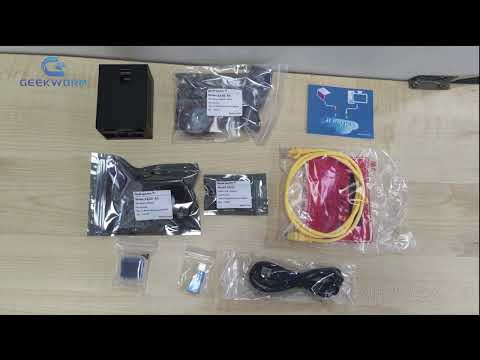
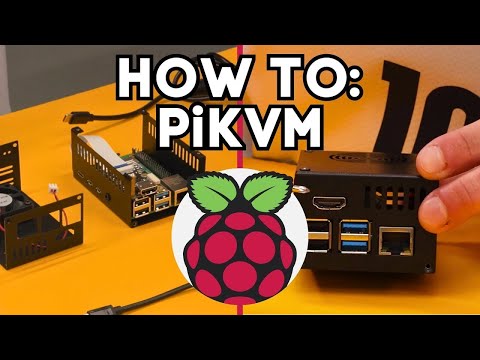
We have updated new installation video for KVM-A3, please refer to: Update: 1. The X630-A3 V1.2 has been updated since X630-V1.3 and remove one on-board spacer to simplify the installation. 2. The 10pin I2S cable has been added since October 2023, how to use please refer to: #Enable_hdmi_audio PiKVM ( ) is a very powerful and Open Source Software which allows for a remote connection via your Raspberry Pi to turn on/off or restart your computer, configure the UEFI/BIOS, and even reinstall the OS using the Virtual CD-ROM or Flash Drive. You can use your remote keyboard and mouse or PiKVM can simulate a keyboard, mouse, and a monitor, which are then presented in a web browser as if you were working on a remote system directly. It's true hardware-level access with no dependency on any remote ports, protocols or services! User Manual: Aliexpress Shop: Geekworm Official: Note: 1. PiKVM-A3 expansion board kit is also compatible with Raspberry Pi 3B+/ 3B, but since Raspberry Pi 3 without OTG interface, when PiKVM-A3 is used with Pi3, OTG analog keyboard and mouse cannot be used. 2. Some PC case may not have HDMI port, you need to use VGA/DVI to HDMI adapter to tansfer HDMI port. 3. Please use the supplied USB Type-C to USB 2.0 A-Male Cable only. USB-C to USB-A cable only with DATA lines (for keyboard and mouse emulation), using other cable might cause instability or damage to either the host PC or the Pi.
- 21823Просмотров
- 3 года назадОпубликованоGeekworm
How to DIY Your IP-KVM Via PiKVM-A3 for Raspberry Pi 4 Open-source KVM Over IP?
Похожее видео


Популярное
Новини