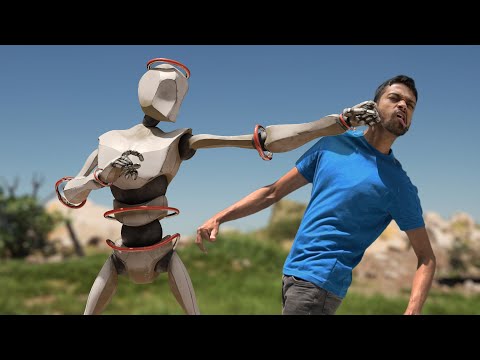
How To Add a 3D Animated Character to Your Footage! - Blender 4.0 VFX Tutorial. I modified the free clip by decreasing the length of the video and removing the sound. If you want to use the exact same footage im using in the tutorial ill have a link for download below. Credit Bonus Studio on pexels for the footage. Video Link - Credit Bonus Studio : Exact Modified Video im using in tutorial : Mixamo Link: #/ Pohaven Link: Join My Patreon: Looking to Buy Premiere Pro? My Filmmaking Gear : The Best All Around Lens for APsC Camera's : One of the Best Budget Camera's Ever Made: The Best Cage for the BMPCC4K (Essential) : Vmount Battery Plate for the BMPCC6K pro : DJI RS2: Audio Recorder - (Zoom H1n): extension cable : Microphone (Rode video mic) : Wind Sheild for Microphone (Rode deadcat) : Affordable Light I LOVE : Large good quality Softbox (Aputure Light Dome 2) : Travel Tripod with fluid head (Manfrotto Befree Tripod): Website: Follow me on: Twitter : Instagram: DISCLAIMER: This video and description contains affiliate links, which means that if you click on one of the product links, I’ll receive a small commission. 0:00 Intro 00:13 How to convert video to image sequence 01:54 How to 3d camera track video 06:00 Adding 3d objects to video 08:15 Mixamo website, selecting animated character 08:58 importing mixamo character into blender 09:25 how to view footage through camera in rendered mode. 09:52 Adding an HDRI via Polyhaven 10:15 how to get 3d model to cast shadows 10:43 how to loop Mixamo animations 12:27 How to Composit and Export video
- 2818Просмотров
- 1 год назадОпубликованоJermaine Grant
Add a 3D Animated Character to Your Footage - Blender VFX Tutorial
Похожее видео


Популярное
Новини