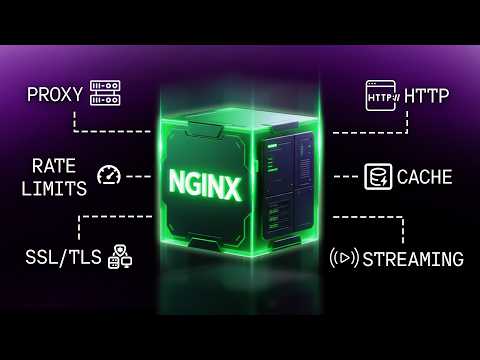
You Need a VPS (Virtual Private Server) to host anything from a WordPress blog or Ghost site to a complex or Ruby on Rails application, all for around $5 a month. In this complete 2025 guide, I'll walk you through the entire process, starting from zero. We'll deploy a brand new, cost-effective server on Hetzner, configure it securely, and then connect it to a live domain using Cloudflare for a free SSL certificate (HTTPS) and a blazing-fast global CDN. This video is the foundation you need to take control of your web projects. In this tutorial, you will learn how to: 1. Create a new project and server on Hetzner Cloud. 2. Choose the right server type (Cost-Optimized) and location. 3. Use to find the datacenter with the lowest latency. 4. (Optional) Generate a new ED25519 SSH key for secure login. 5. Connect to your new Ubuntu server via SSH as the root user. 6. Create a new non-root user with sudo privileges for better security. 7. Update and upgrade your server's packages using apt. 8. Install the Nginx web server. 9. Set up UFW (Uncomplicated Firewall) to secure your server. 10. Allow SSH and HTTP/HTTPS traffic through the firewall. 11. Point your domain name to your server's IP using Cloudflare DNS. 12. Add 'A' and 'CNAME' records in Cloudflare. 13. Enable free SSL (HTTPS) for your domain using Cloudflare's "Flexible" mode. Tools & Links Mentioned: Hetzner Cloud: CloudPing: Cloudflare: #vps #hetzner #cloudflare #devops #webhosting #nginx #ubuntu #serversetup #ssl Chapters 00:00 - Intro: Why You Need a VPS 00:52 - Part 1: Creating Your Hetzner VPS 01:00 - Choosing a Server Type (Cost-Optimized) 02:00 - Choosing a Server Location (Using CloudPing) 03:12 - Selecting the OS (Ubuntu) 03:37 - Generating & Adding an SSH Key 03:49 - ssh-keygen Command 04:36 - Copying Your Public Key 04:50 - Adding the SSH Key to Hetzner 05:03 - Final Server Configuration & Creation 06:16 - Server is Live! 06:35 - Basic Server Configuration 06:50 - Connecting as root via SSH 06:58 - Creating a New User with adduser 07:28 - Adding New User to sudo Group 07:44 - Copying SSH Keys to the New User 08:23 - Logging in as the New User 08:41 - Updating & Upgrading Ubuntu (apt update/upgrade) 09:28 - Installing Nginx Web Server 09:48 - Checking Nginx Status 10:00 - Testing the IP Address in Your Browser 10:33 - Setting Up the Firewall (UFW) 10:50 - Checking UFW Status 11:37 - Allowing OpenSSH (ufw allow OpenSSH) 12:05 - Enabling UFW (ufw enable) 12:35 - Allowing Nginx (ufw allow 'Nginx Full') 12:47 - Final Browser Test (IP Works!) 13:10 - Part 2: Connecting Your Domain with Cloudflare 13:56 - Why Use Cloudflare? (Free CDN & SSL) 14:46 - Adding DNS 'A' Record for Root Domain (@) 15:10 - Adding DNS 'CNAME' Record for 'www' 15:37 - Setting SSL/TLS to "Flexible" 16:01 - Testing the Live Domain (HTTP & HTTPS) 16:18 - Final Recap
- 1556Просмотров
- 1 месяц назадОпубликованоJilles Soeters
You Need a VPS - The Foundational Setup Guide using Hetzner and Cloudflare DNS (Less Than $5/Month)
Похожее видео


Популярное
Новини