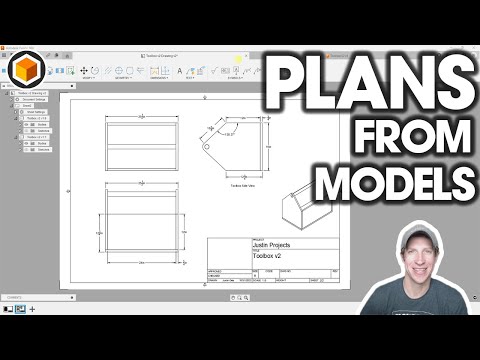
In this next part of our Shed tutorial series, you will learn how to make the doors, using in-context design methods, how to download and install door hardware, hinges and then insert your door assembly into your shed design. Don’t forget to stay to the end to see another special feature of Autodesk Fusion. Link to first tutorial in this series: Motion Study tutorial (Beginner): For the following, click here: - Social and Contact - Memberships - Discounts, Specials, and Freebies - Support Us - Business Partners, Sponsors, & Portfolio - Courses - Recommended Hardware (Including 3D SpaceMouse Pro) - Private Consultation, Instruction, & CAD/CAM work You will learn the following: 00:00 - Start 00:26 - Link to 1st tutorial in this series - 00:40 - Intro 01:00 - Start sketching 12:16 - Start adding sub-components to our sketch 20:12 - How to create a rigid group 21:05 - Add parameters 24:07 - Create a joint origin 26:44 - Shoutout to Learn It! members 27:09 - Add hinges 33:19 - Insert the door template into your master assembly 41:54 - Motion Study 42:21 - Link to Motion Study tutorial - #learnit #fusion360 #tutorial #assembly #assemble #shed #carpentry #wood #joints #advanced #intermediate #cad #design #subassemblies
- 9535Просмотров
- 1 год назадОпубликованоLearn It!
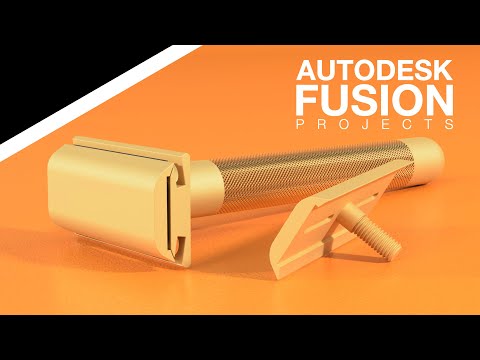
Autodesk Fusion 360 - Part 4/4 - Shed Doors - Model/Assembly Tutorial - Intermediate/Advanced (2024)
Похожее видео


Популярное
Новини