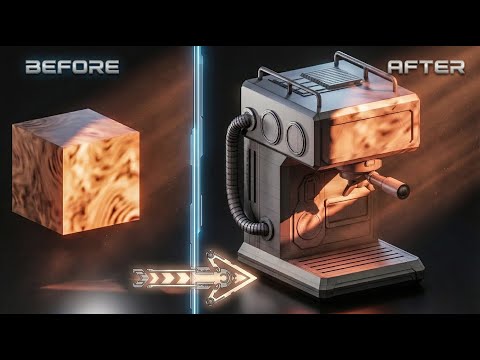
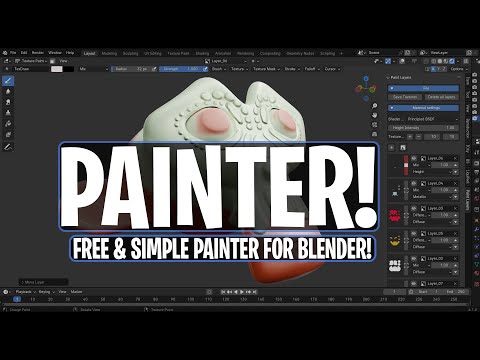
Learn how to texture a full stylized wooden crate in Substance Painter from start to finish. This walkthrough covers baking, masks, generators, color workflows, stylized wood/metal materials, filters, and final texture export for Blender using the Principled BSDF pipeline. The entire process is optimized for beginners but structured with production-ready standards. Chapters included for fast navigation. Textures are exported efficiently for real-time engines while keeping the normal map at full fidelity. 00:00 — Intro & Project Overview 00:03 — Setting Up the PBR Metal/Rough Template 00:18 — Importing the Low Poly & Normal Format Setup 00:26 — Reviewing UVs 00:31 — HDRI Light Rotation 00:36 — Viewport Layout Adjustments 00:54 — Moving to the Baking Panel 01:07 — Baking Configuration 01:28 — Running the Bake & Switching Back to Paint Mode 01:36 — Searching for Stylized Wood Materials 01:43 — Applying the First Material 01:52 — Organizing Layers & Creating the First Mask 02:12 — Polygon Fill Overview 02:21 — Selecting Wood Parts & Mask Clean-up 02:59 — Naming the First Wood Layer 03:04 — Duplicating Folder & Preparing the Second Wood Section 03:24 — Adjusting Wood Rotation 03:32 — Editing the First Wood Folder 05:02 — Adding the First Highlight Fill Layer 05:13 — Masking & Painting Bright Areas 05:43 — Blending Modes for Base Color 05:52 — Opacity Adjustments 06:02 — Creating Darker Wood Layer 06:27 — Ambient Occlusion Generator Layer 06:52 — AO Mask Review & Balancing 07:25 — Choosing AO Color 07:30 — Adding Blur & Finalizing AO Layer 08:06 — Manual Paint Adjustments & Opacity Control 08:54 — Copying Folder & Transferring Mask to Second Section 09:39 — Re-orienting Base Wood & Rebuilding Masks 10:10 — Starting the Metal Material 10:41 — Painting & Building Metal Layers 11:49 — Metal Edge Wear Generator 12:28 — Adding 3D Linear Gradient Generator 13:04 — Gradient Adjustments & Layer Positioning 13:34 — Choosing a Darker Tone 13:44 — Applying Gradient to Wood 14:38 — Adding Height-to-Normal Filter 15:23 — Adding Contrast Filter 15:49 — Adding Sharpen Filter 16:12 — Preparing for Export 16:17 — Setting the Export Location 16:24 — Choosing the Blender Output Template 16:29 — Optimizing Texture Output (JPG + PNG for Normals) 16:47 — Final Export & Closing Remarks For more tutorials, free resources, and stylized 3D products, you can check out all my work on ArtStation :
- 43Просмотров
- 1 неделя назадОпубликованоMasih Ahmadi
Beginner Tutorial - Texturing in Substance Painter!
Похожее видео


Популярное
Новини