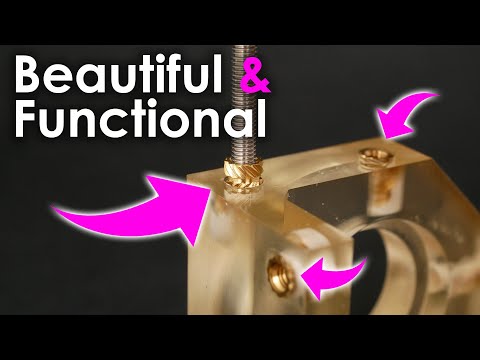
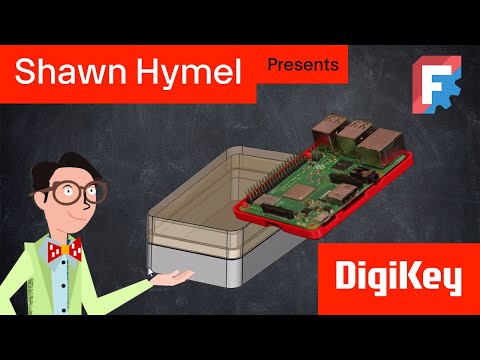
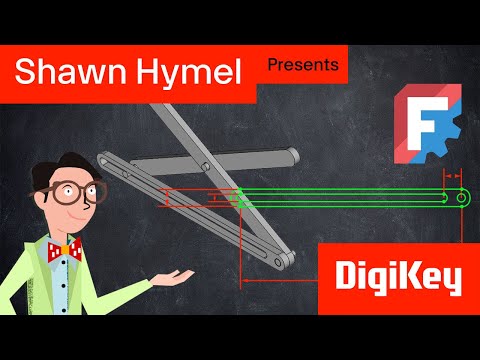
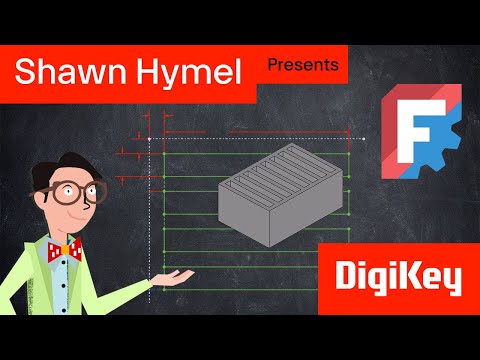
In this tutorial, we dive into using heat set inserts for 3D-printed projects in FreeCAD. Discover the ideal way to create secure, detachable connections for your 3D prints, perfect for assembling enclosures and mounting electronics. I'll guide you through designing accurate holes with FreeCAD's Hole Tool and demonstrate the practical technique of inserting heat-set inserts into your parts. This is the fourth video in our 10-part Introduction to FreeCAD series. You can find the FreeCAD files used in this tutorial in this GitHub repository: The written version of this guide can be found here: What you'll learn: How to design the correct hole sizes for heat set inserts using FreeCAD. Step-by-step process of inserting heat-set inserts into 3D printed parts. Tips for achieving strong, reusable connections in your 3D printing projects. Tools and materials: FreeCAD software Heat set inserts (M3 size) 3D printed parts Whether you're a beginner looking to enhance your 3D printing assembly techniques or an experienced maker, this video will provide you with the knowledge to use heat-set inserts effectively. Don't miss out on professional tips to refine your designs and make your creations more durable! Share your project results and questions in the comments below or connect with us on social media using #DKFreeCAD. 00:00 Intro 00:41 Overview of Heat-Set Inserts 01:48 Designing Holes for Heat-Set Inserts 02:50 Creating the Base in FreeCAD 08:44 Adding Holes for Heat-Set Inserts 14:43 Using the Mirror Tool 16:20 Designing the Lid 21:24 Exporting for 3D Printing 22:25 Heat-Set Insert Accessories 23:07 Adding Heat-Set Inserts 25:05 Challenge: Add Heat-Set Inserts to Your Enclosure 25:22 Conclusion LulzBot SideKick 747 3D Printer: 3D printer filament: - DigiKey’s Blog – TheCircuit Connect with DigiKey on Facebook And follow us on X:
- 24125Просмотров
- 10 месяцев назадОпубликованоDigiKey
Intro to FreeCAD Part 4: How to Use Heat Set Inserts | DigiKey
Похожее видео


Популярное
Новини