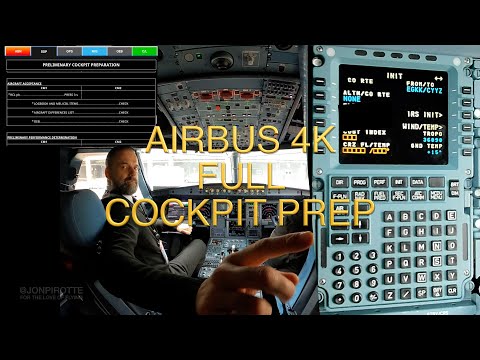
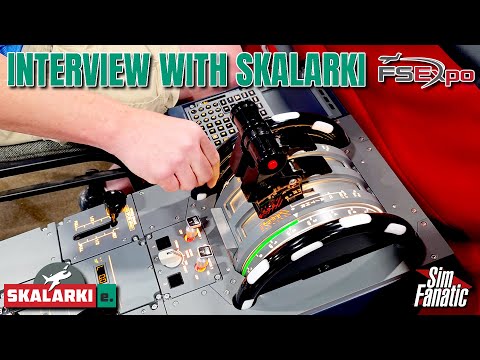
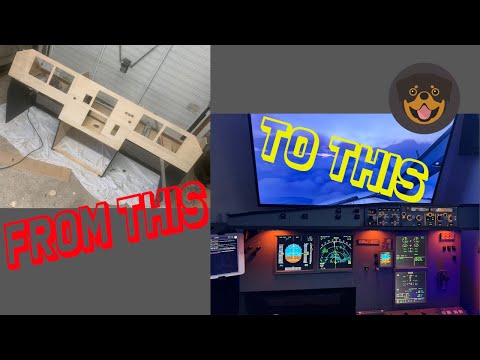
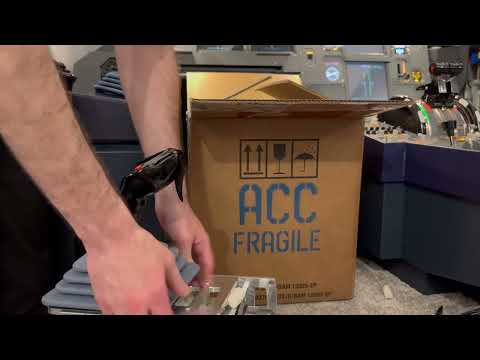
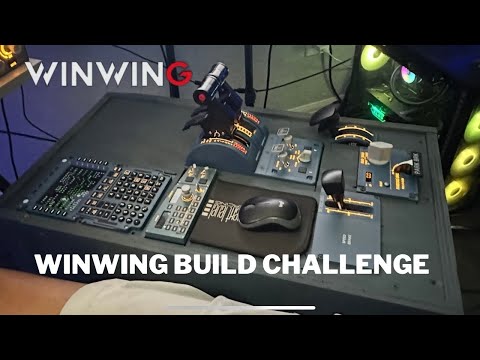
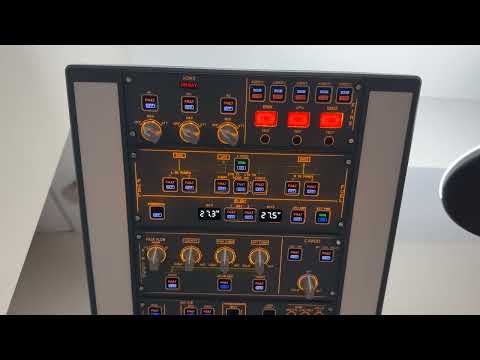
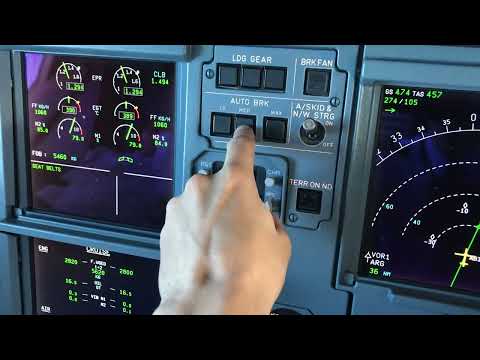
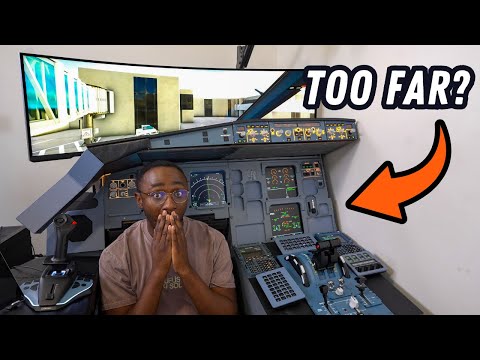
Ever wondered what it takes to build a home Airbus A321 cockpit setup? In this video, I show how I transformed my apartment into a captain-side A321 flight deck using parts from Skalarki Electronics Ltd. and a lot of patience. What started as a random idea quickly turned into the biggest project I’ve ever done: transforming my apartment into an Airbus A321 cockpit! After weeks of research (and a few late-night rabbit holes), I finally took the plunge and ordered everything I needed from Skalarki electronics to bring a real Airbus experience home. You’ll see the full process: From ordering / receiving the cockpit parts to assembling, and having the entire setup take full shape. It’s been a mix of engineering, patience, and pure excitement watching this dream take shape inside my apartment! If you’re into flight simulation, DIY tech builds, or just love watching people take on ridiculous challenges, you’ll enjoy this one. 🔧 Chapters 00:00 – How it all started 00:25 – Discovering Skalarki Electronics and placing first order 01:00 – Pivotal decision: Going all in on the Airbus cockpit setup 01:55 – How I put it all together 02:19 – Main Instrument Panel 02:30 – Overhead panel with arm/bracket 03:10 – Pedestal and Sidestick base with sidestick and tiler 03:20 – Cable Information and management 04:51 – Speaker in MIP 05:25 – PC showcase and specs 05:48 – Skalarki Electronics Software Compatibility 06:25 – Skalarki Electronics Desktop Line for Home users 06:57 – Thank you 🛫 Software/Hardware: Cockpit hardware: @SKALARKIelectronics PC Specs: TECHNOID Snow White Gaming PC - Intel i9 14900K - GeForce RTX 4090 - 96GB DDR5 - 4TB SSD Flight simulator: X-Plane 12 Aircraft: Toliss A321 Neo Pro Version @SKALARKIelectronics Compatibility List: 📸 Follow the Build Instagram → TikTok → @airbuscockpit 💬 Comment below: What’s the craziest thing you’d build in your apartment if you could?
- 9224Просмотров
- 1 месяц назадОпубликованоMathew Naoum
Building an Airbus A321 Cockpit in My Apartment! (Challenge Accepted)
Похожее видео


Популярное
Новини